WELCOME TO THE

ALL ACCESS PAGE! 


I thought it would be helpful for you to have all of your resources together on one easy-to-save page. 


We've explored how to create your decks, how to introduce hexagonal thinking, how to help students present their ideas back to each other, and how to reflect on and assess a hexagonal thinking activity with your students. 


​On this page, you'll find a quick run-through of each day and resource, plus a PD certificate you may be able to use to receive professional development credit in your district. 


​Got a colleague you'd like to share this material with? Go ahead and forward on the link to this all-access page! 
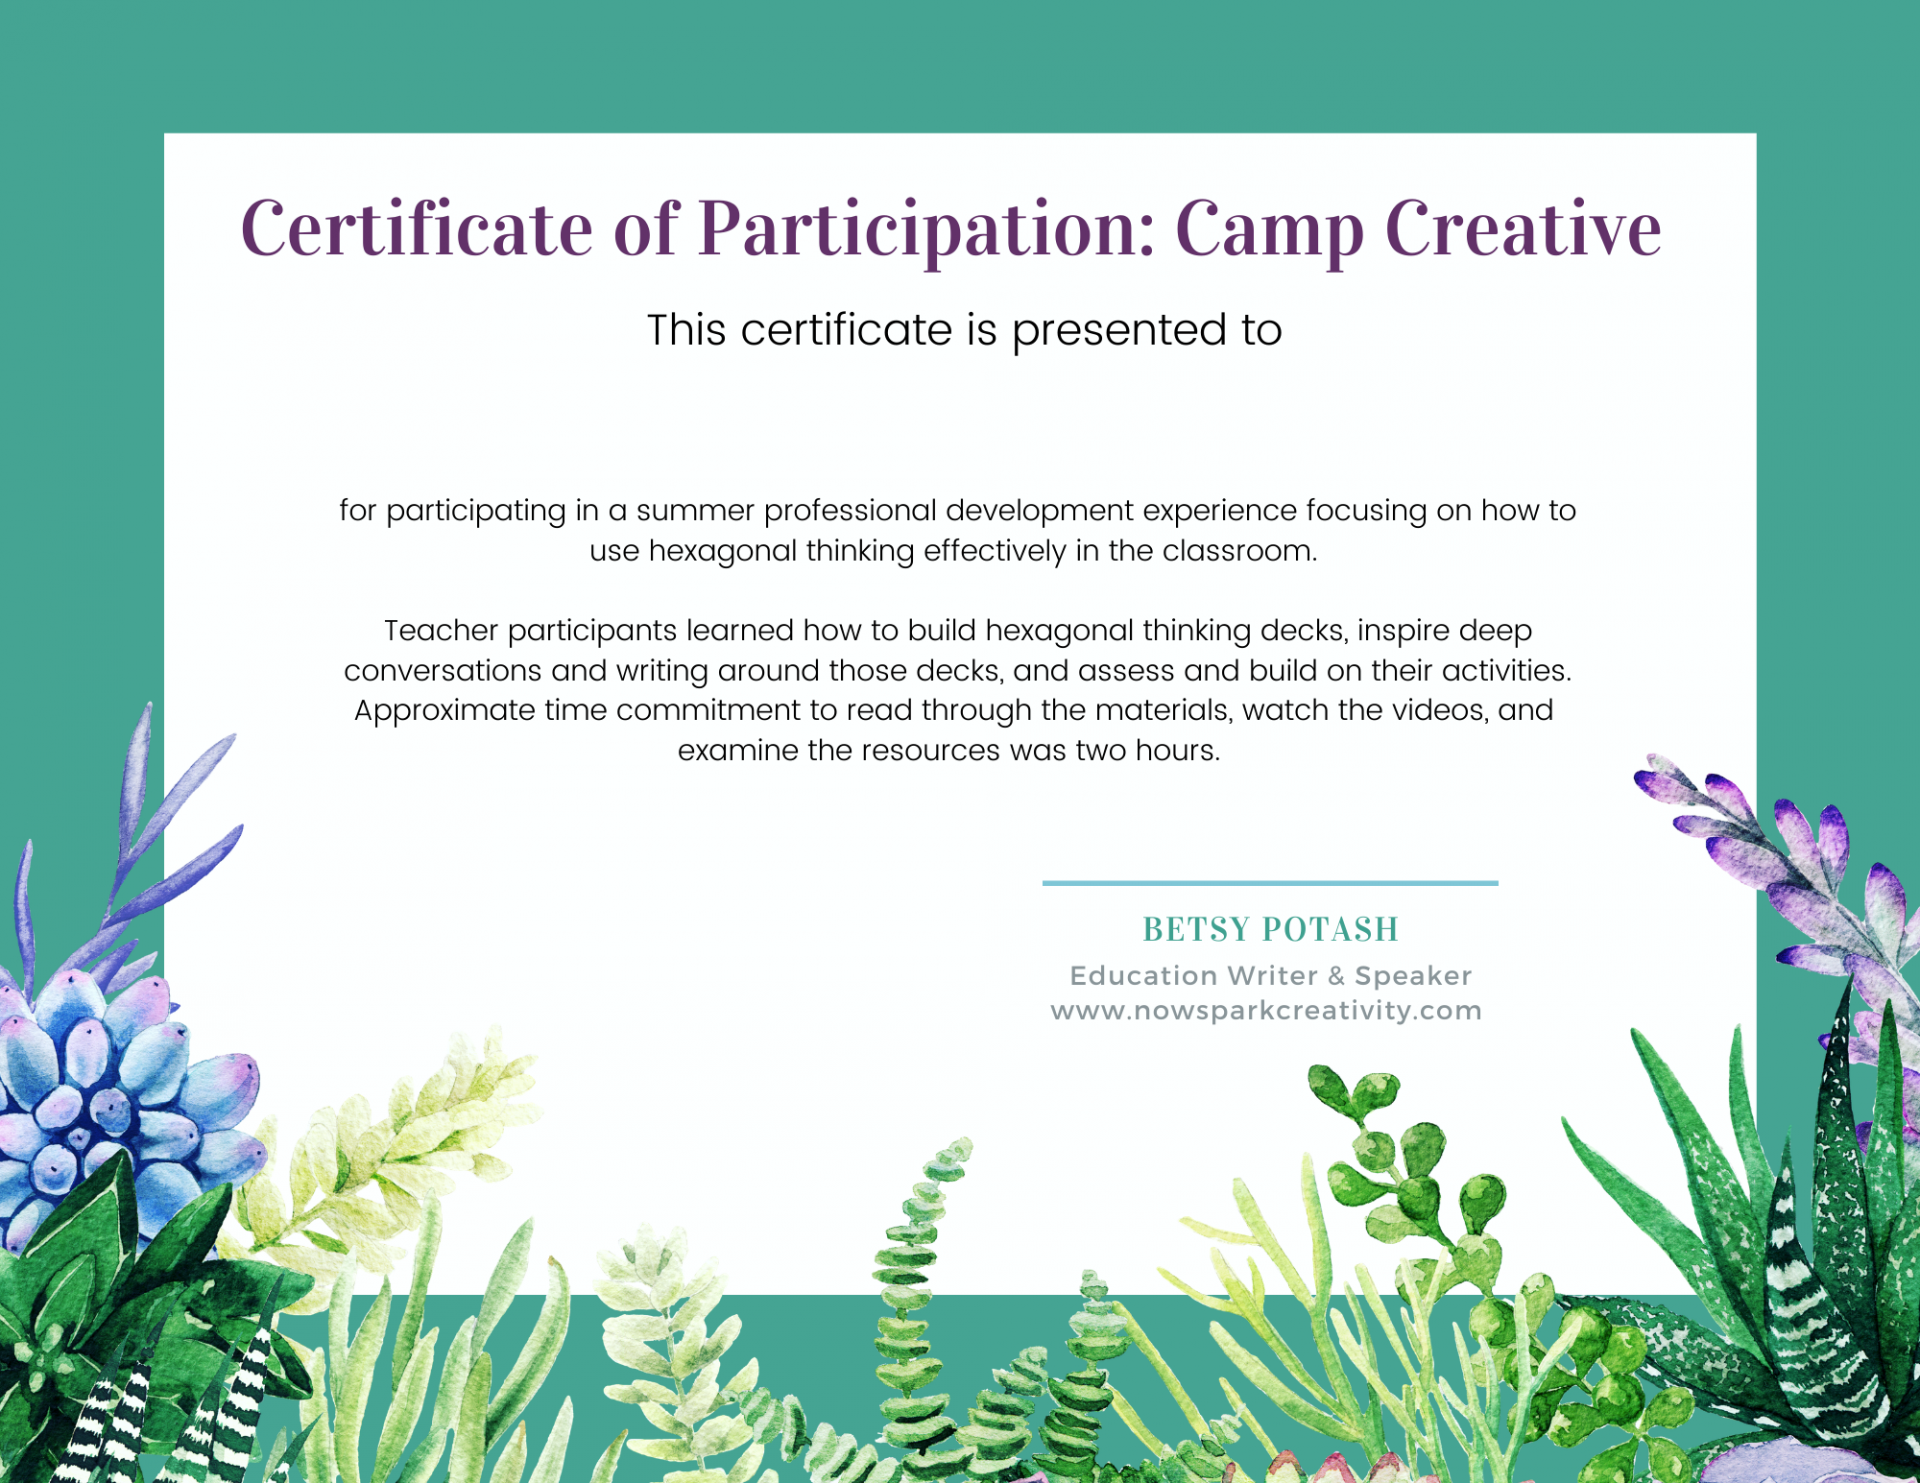
 

If your district is flexible in how it awards professional development hours, feel free to make a copy of this PD certificate, add your name, and print.

Just click the button below.


DAY ONE: 

Introducing Hexagonal Thinking

Hexagonal thinking has its origins in the world of business, where it's used to help drive innovation and connect things in new ways. 


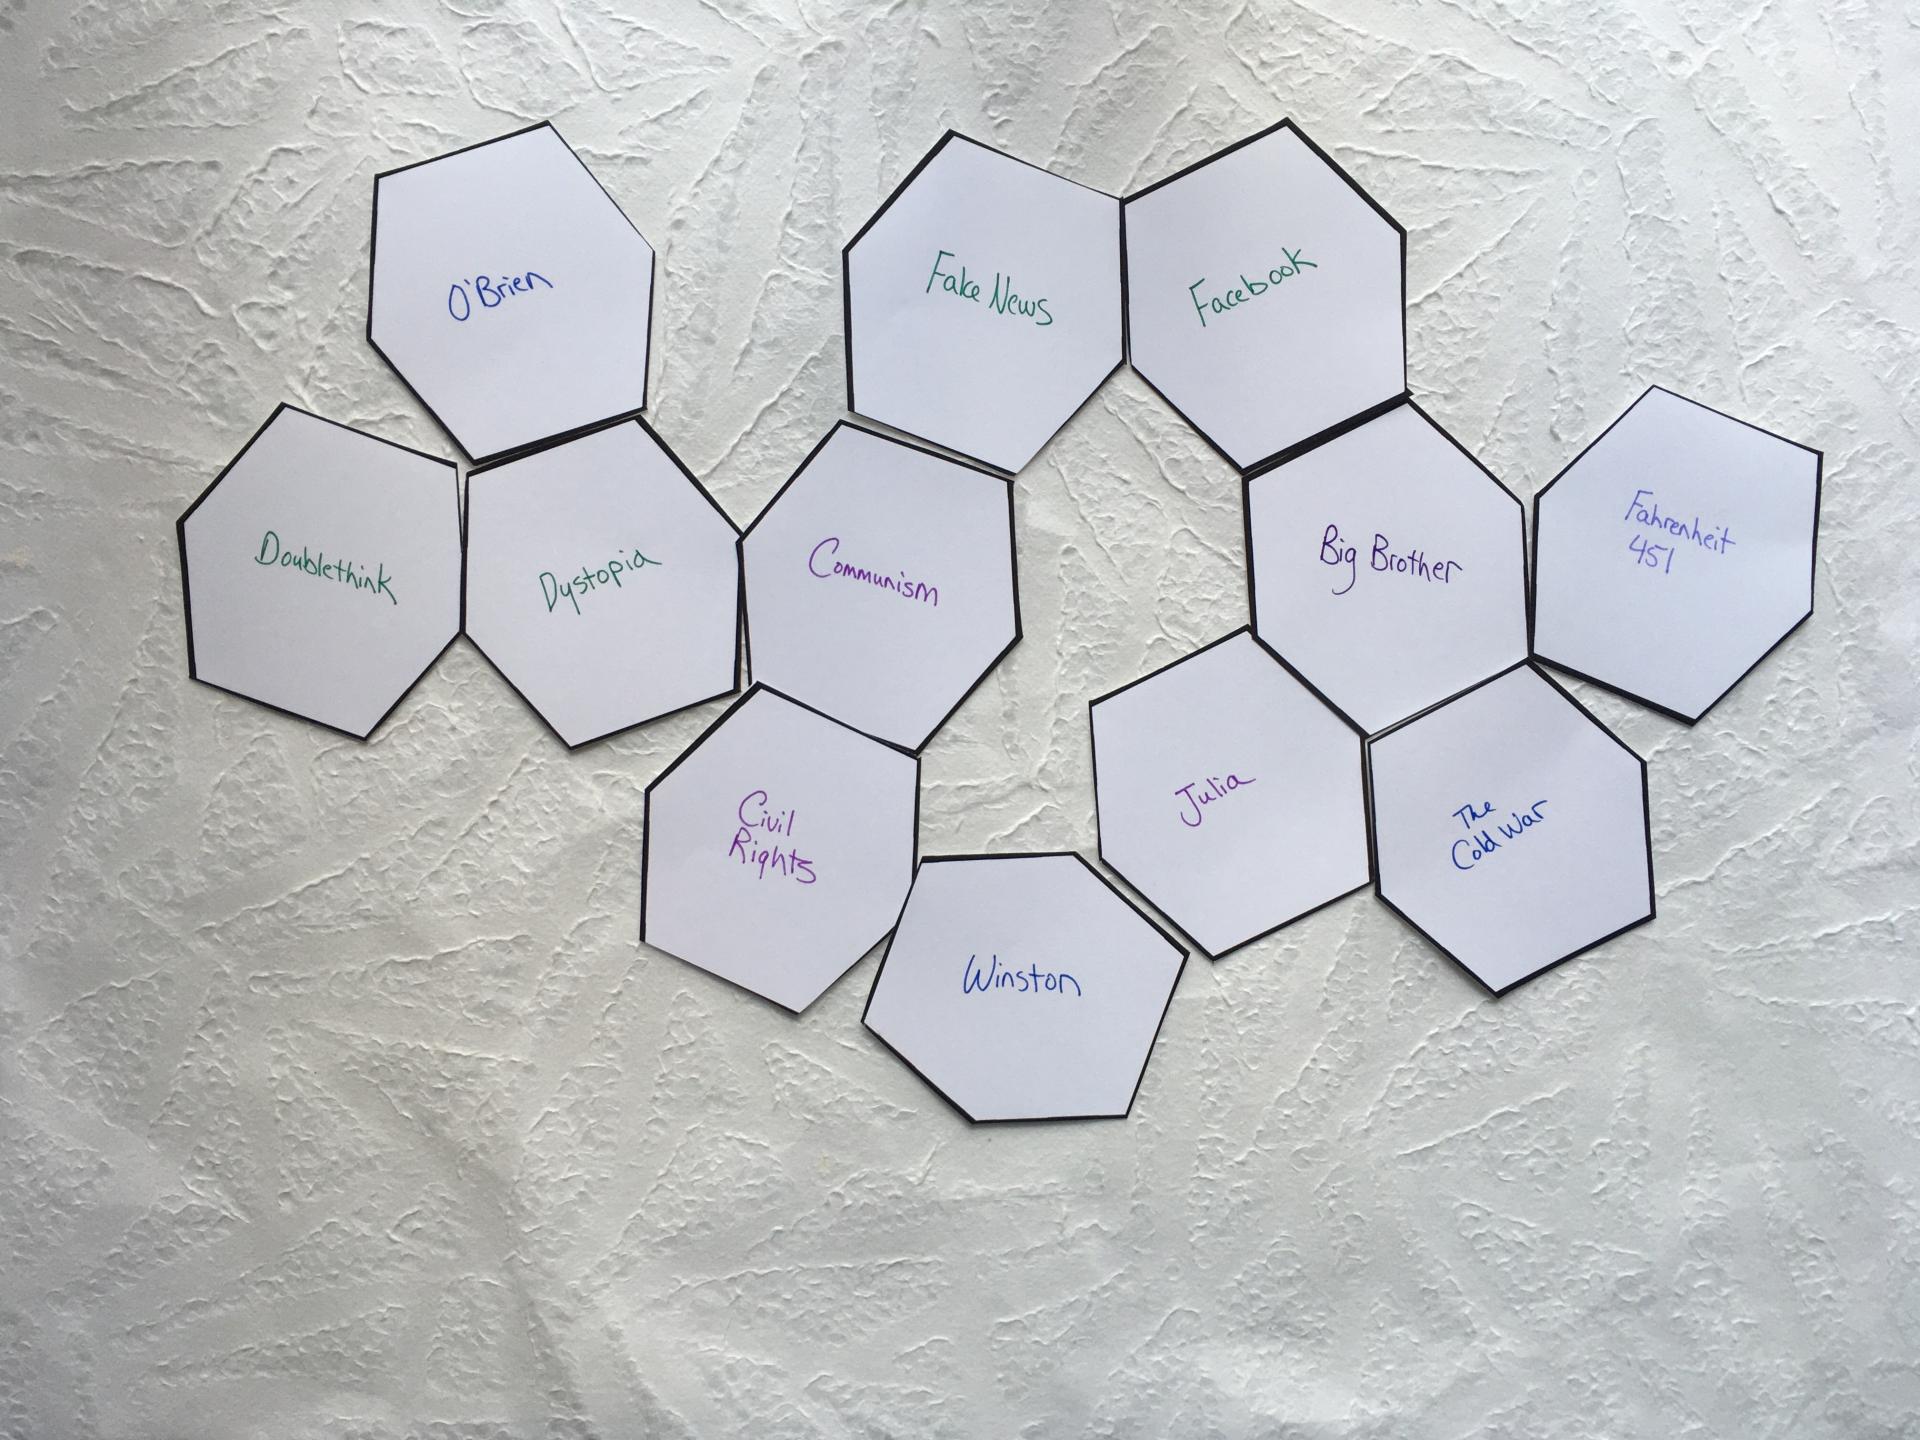
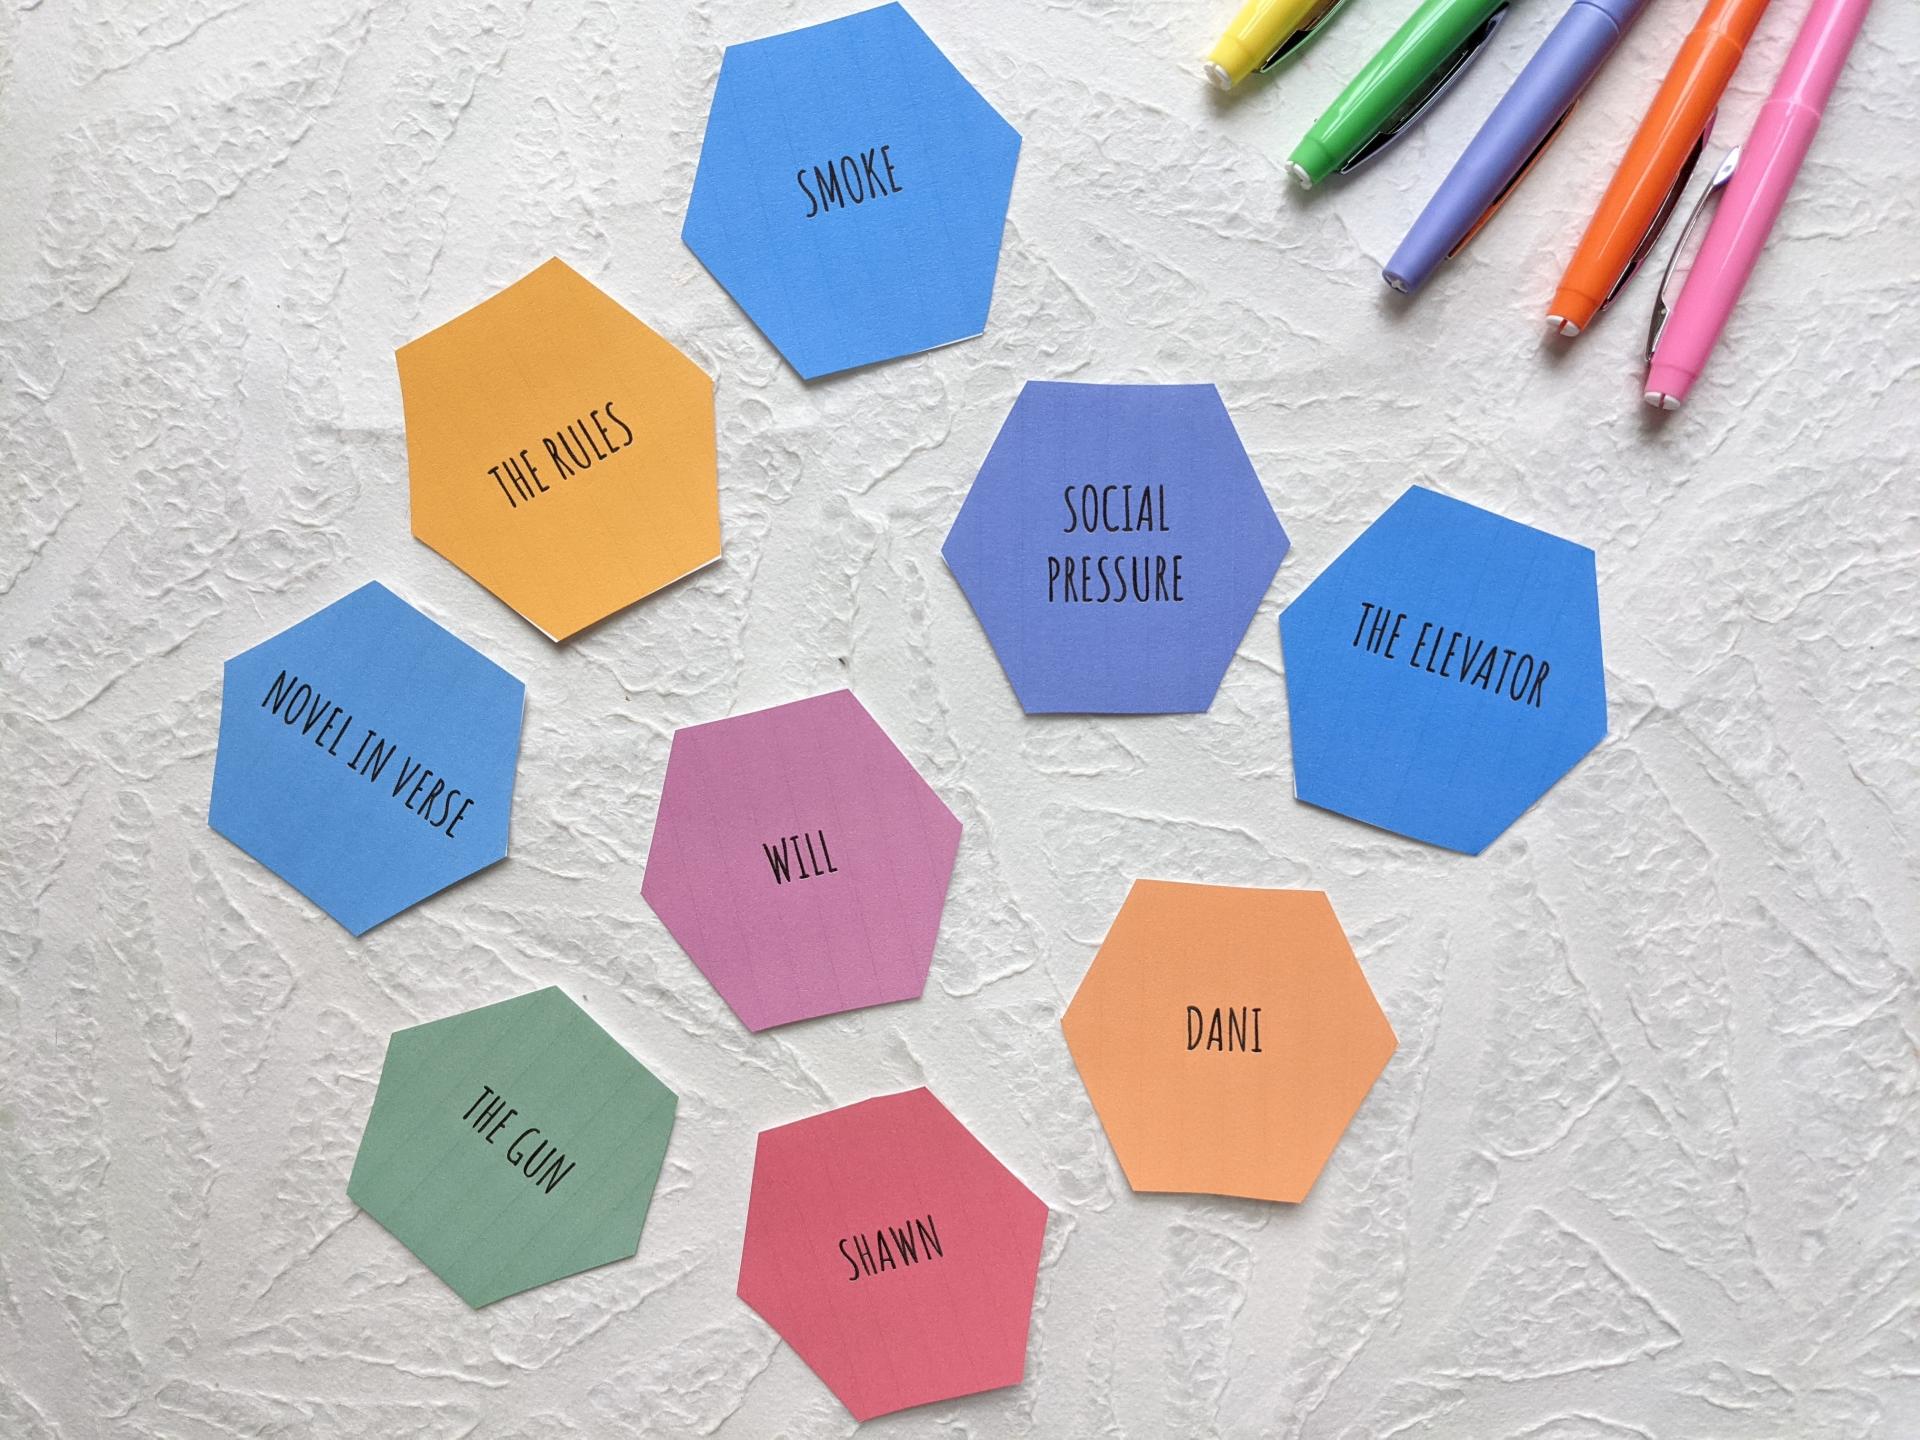
When you introduce the method to your students, your goal is to encourage them to use their critical thinking skills in making connections and debating the possibilities. When it comes to hexagonal thinking, there is no right answer, only many unique ways to connect the ideas. Each card can connect to up to six others, but only needs to connect to one, so there are hundreds of possible iterations of a hexagonal thinking web. 


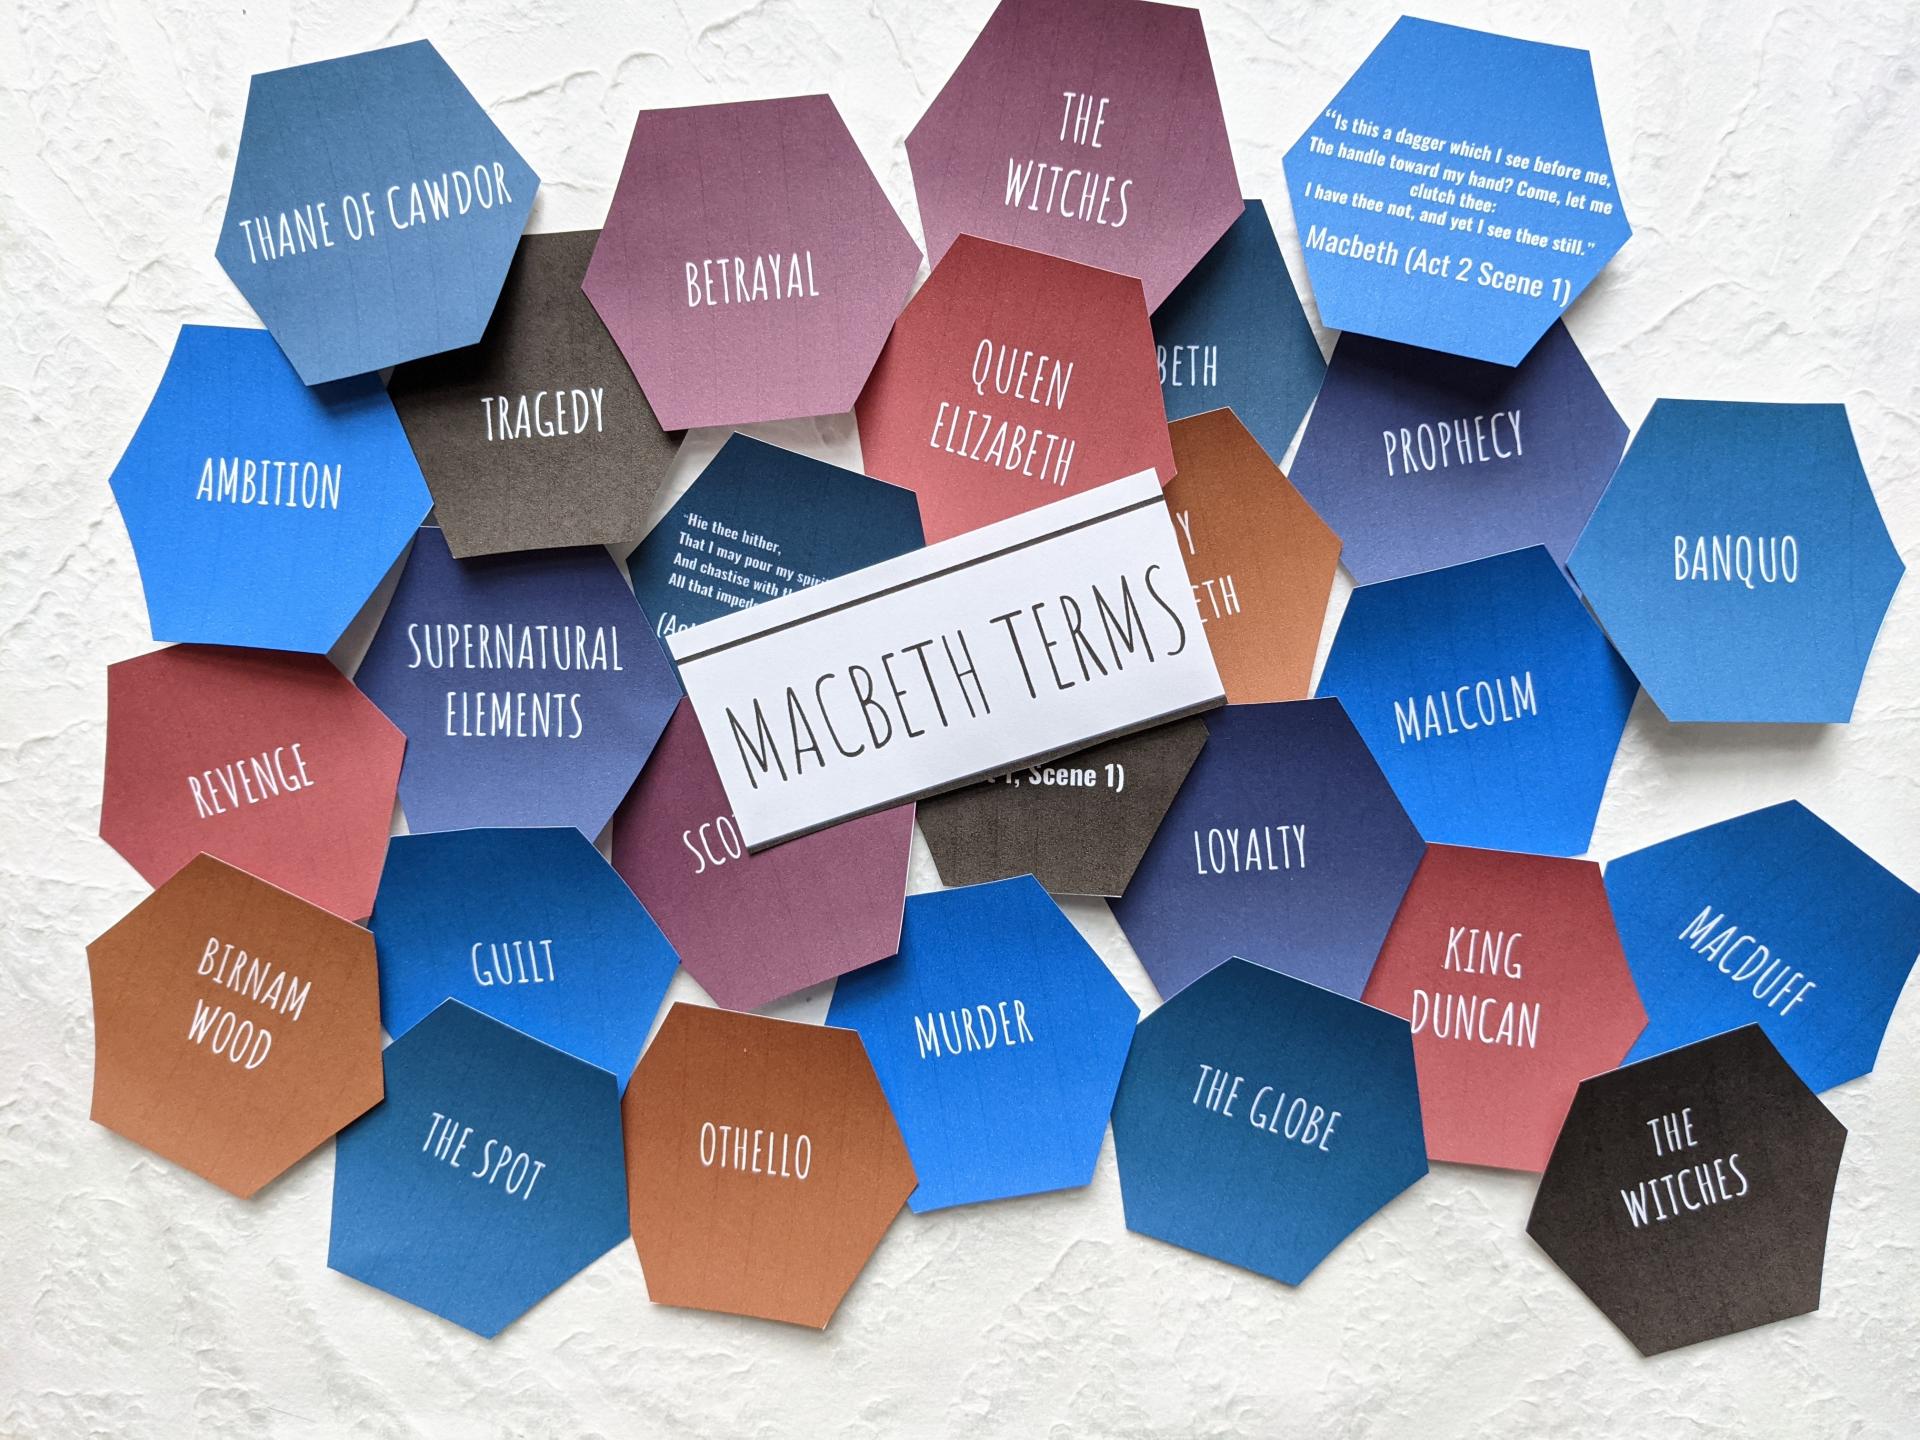
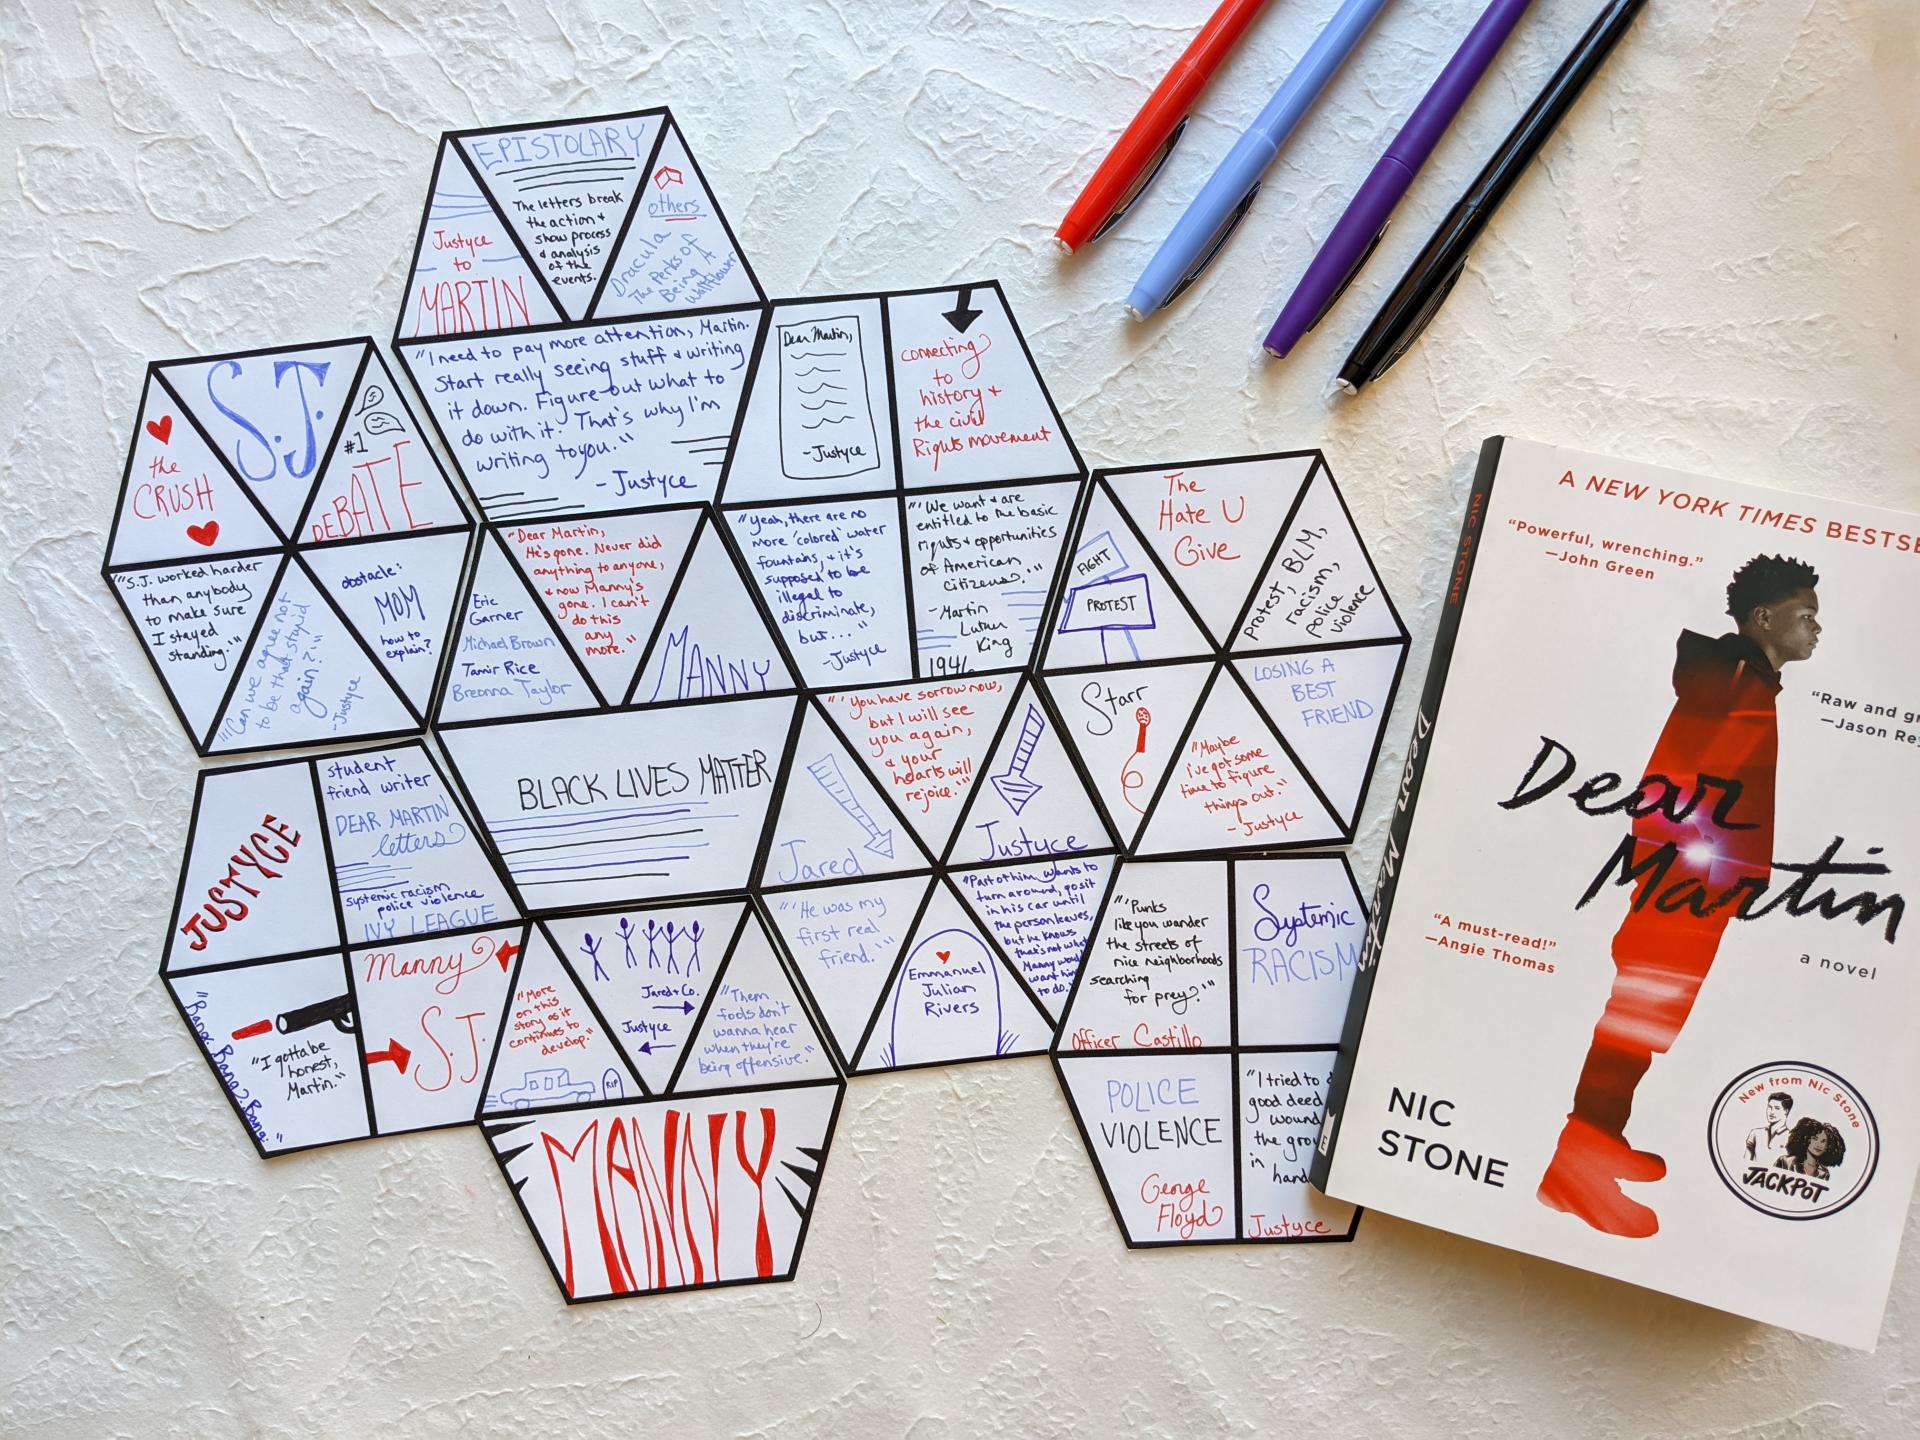
To give yourself an idea of the possibilities, check out this set of photographic examples from members of my Facebook group, Creative High School English, that I put together for We Are Teachers. 


Below, you'll find an editable hexagonal thinking kit to make all this a whole lot easier.  


DAY TWO: Creating Decks

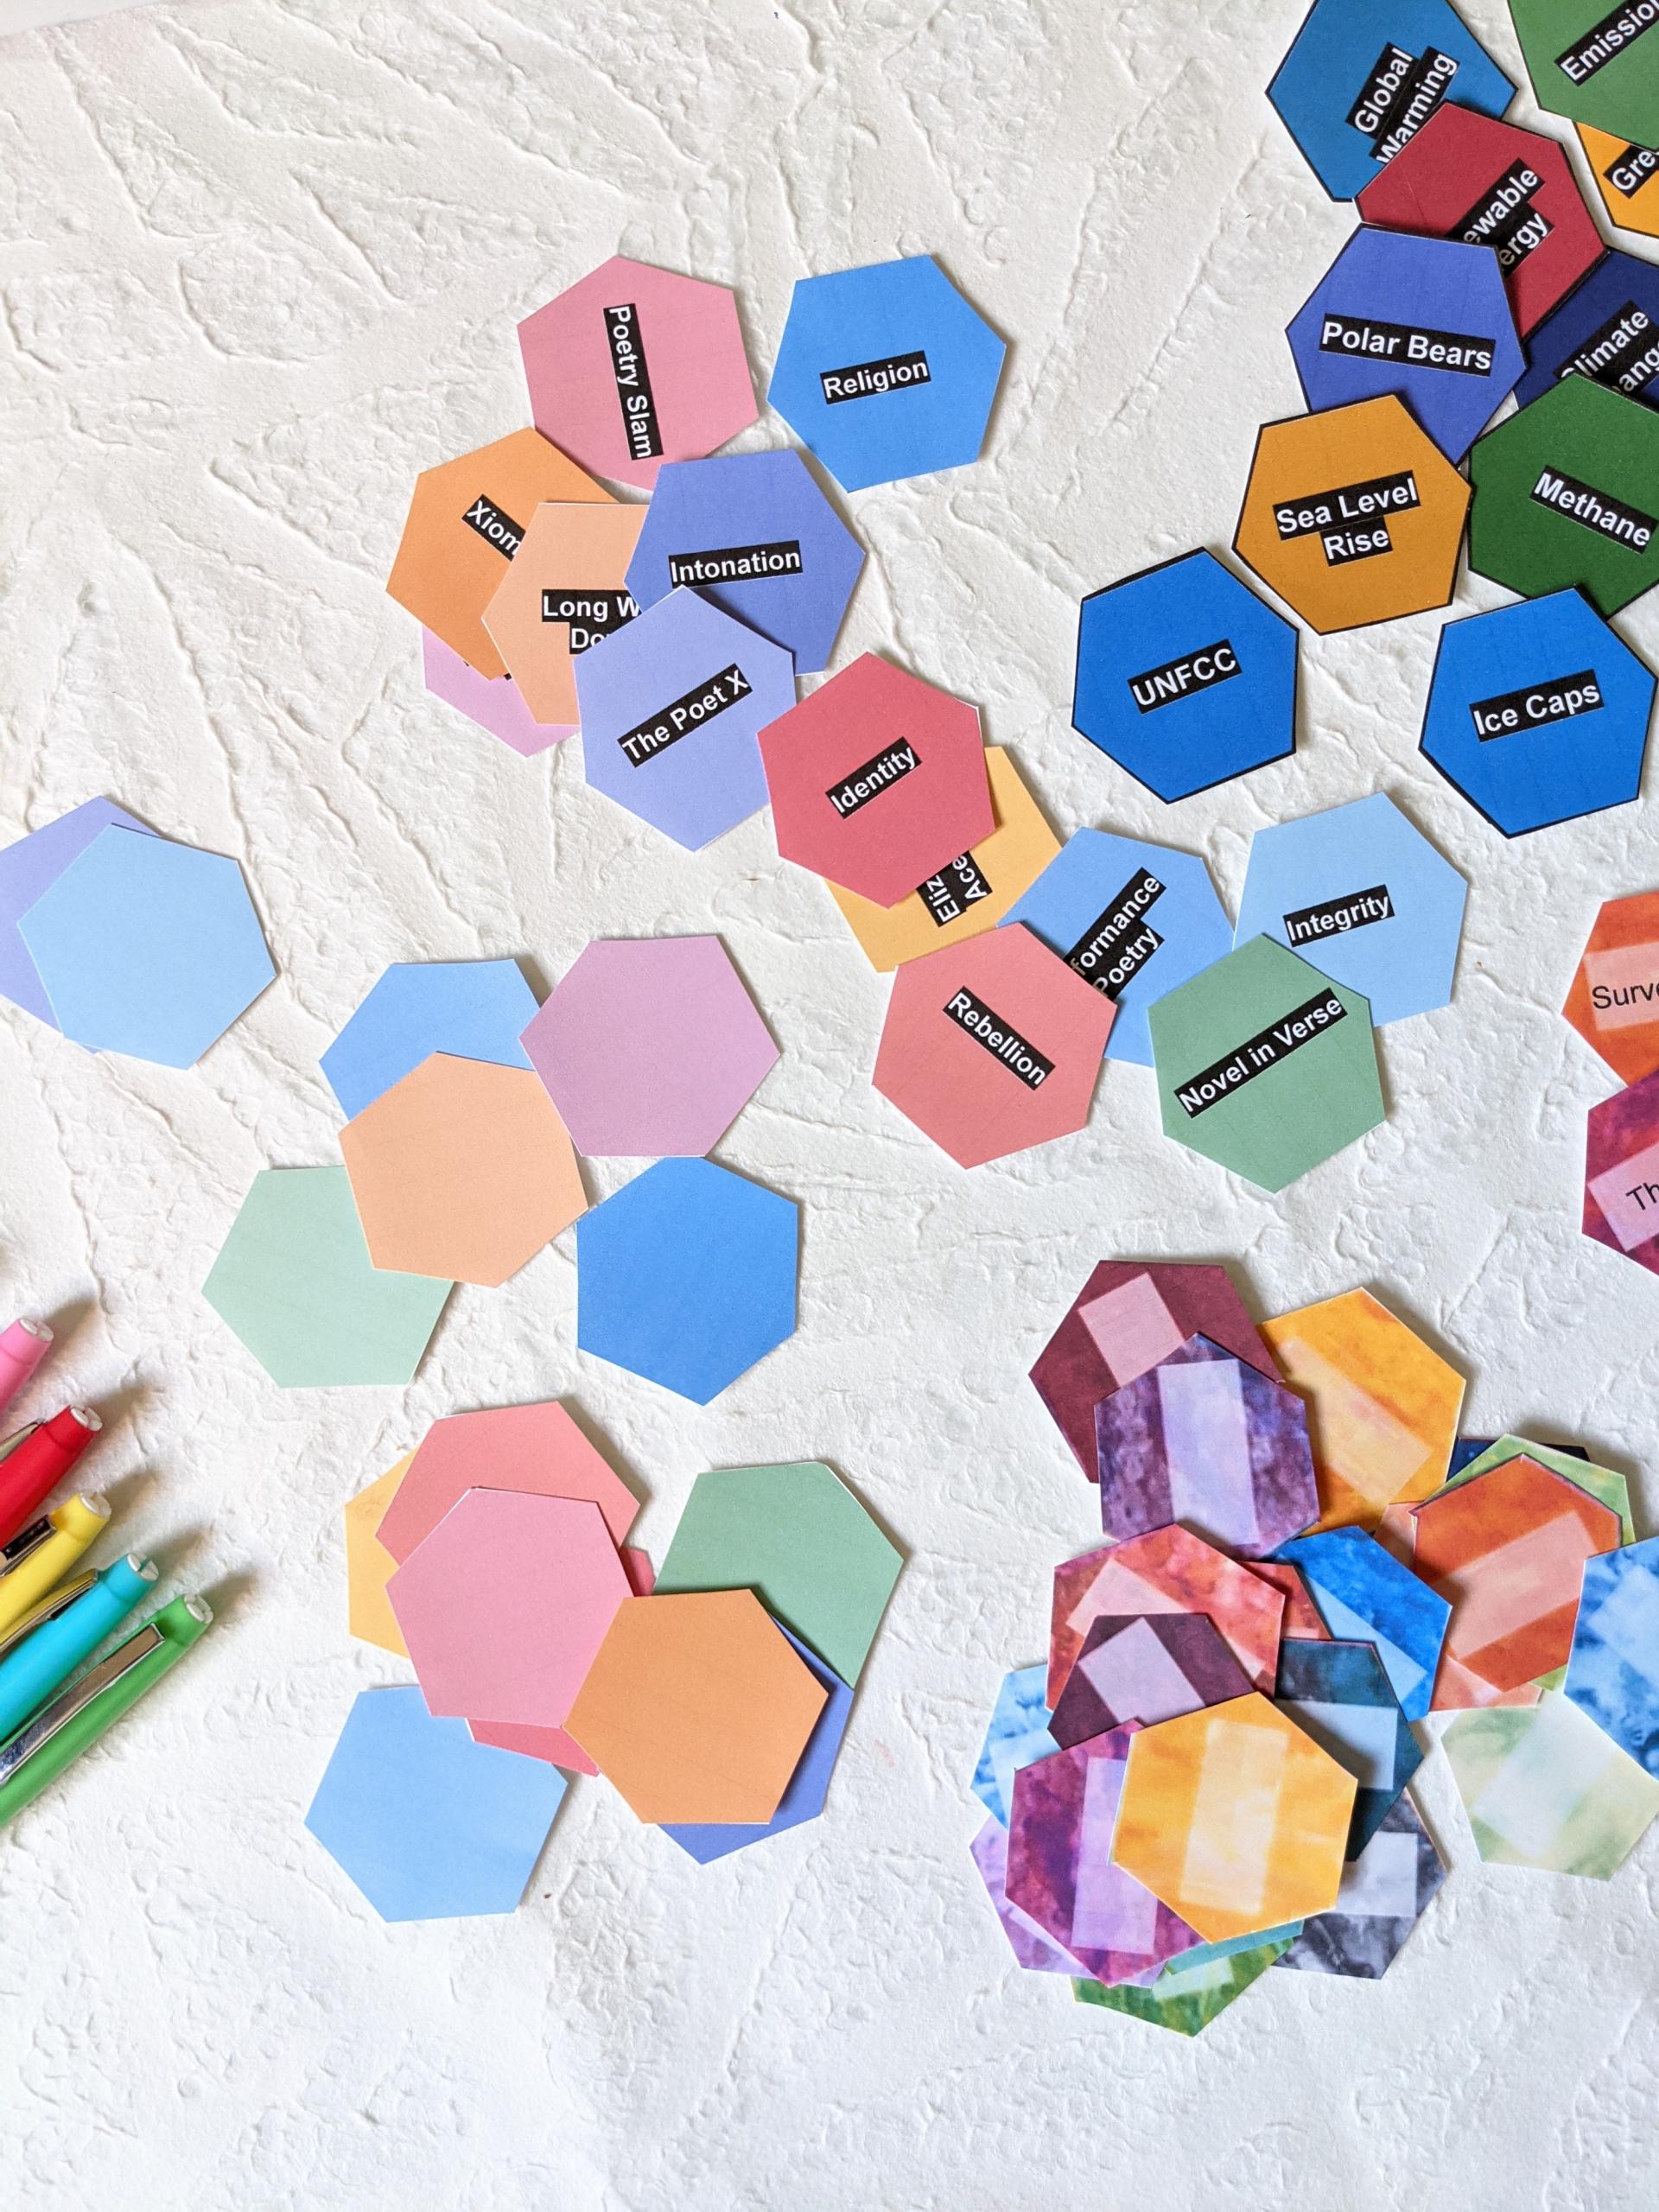
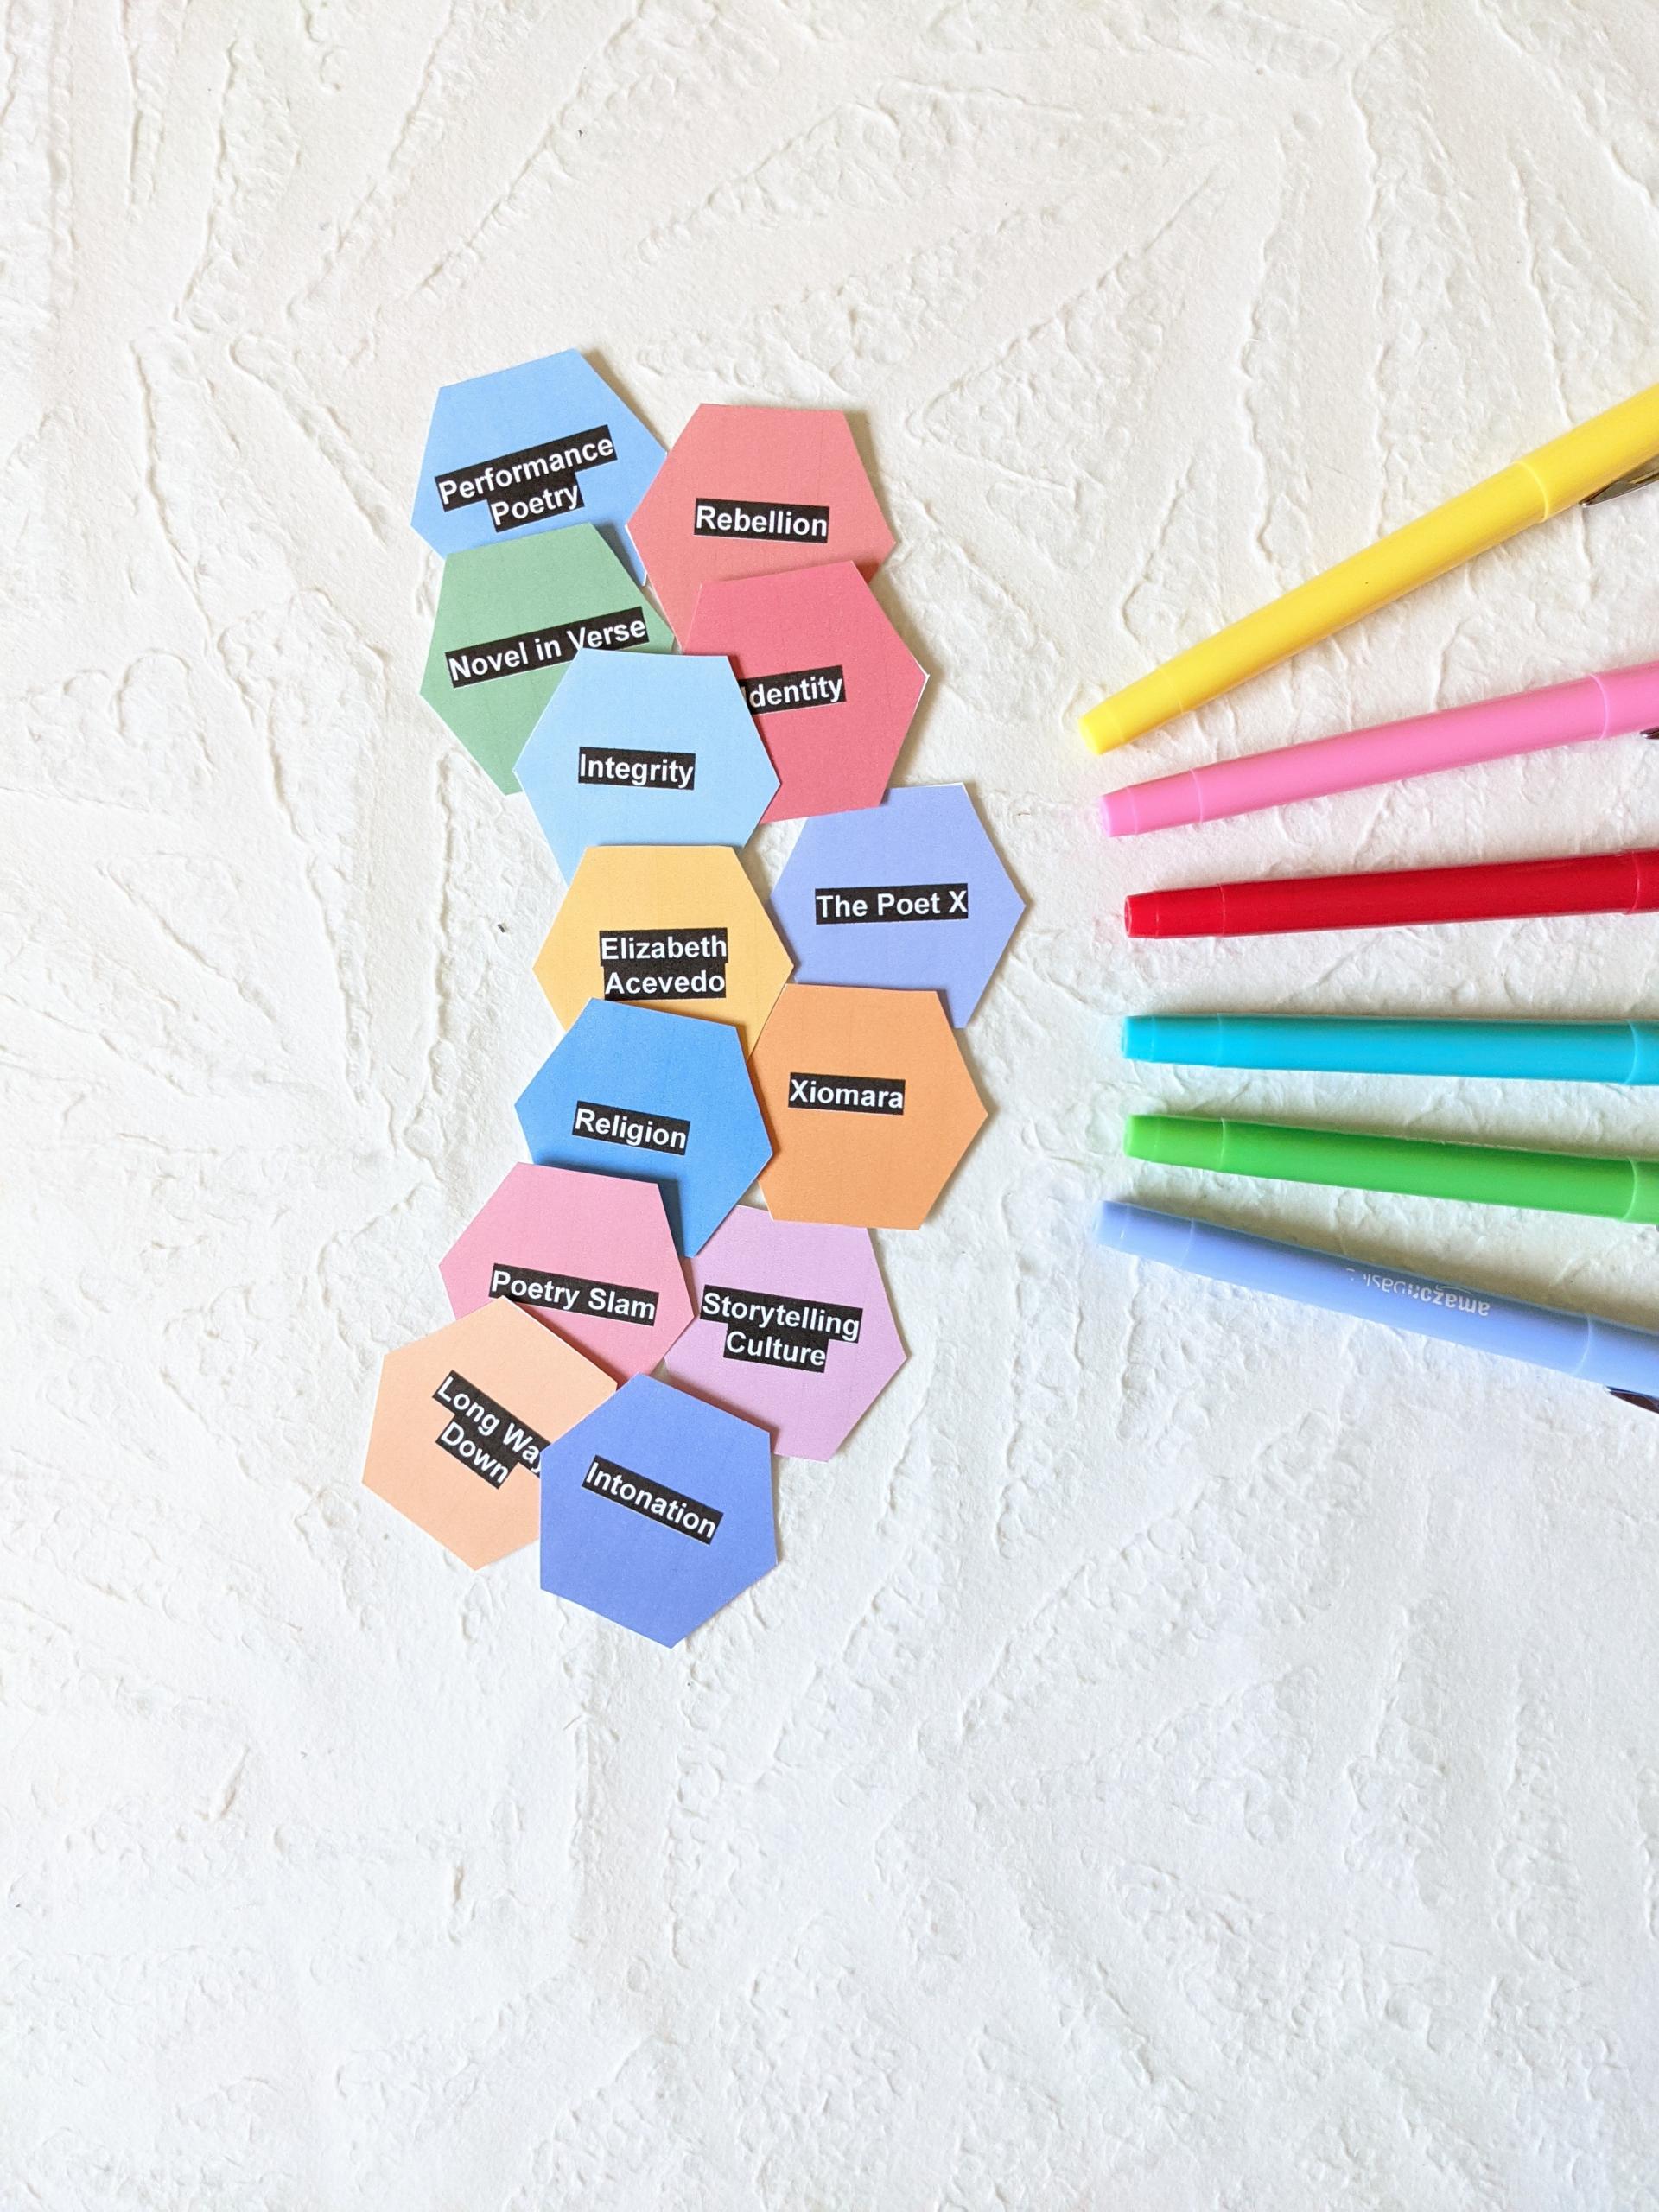
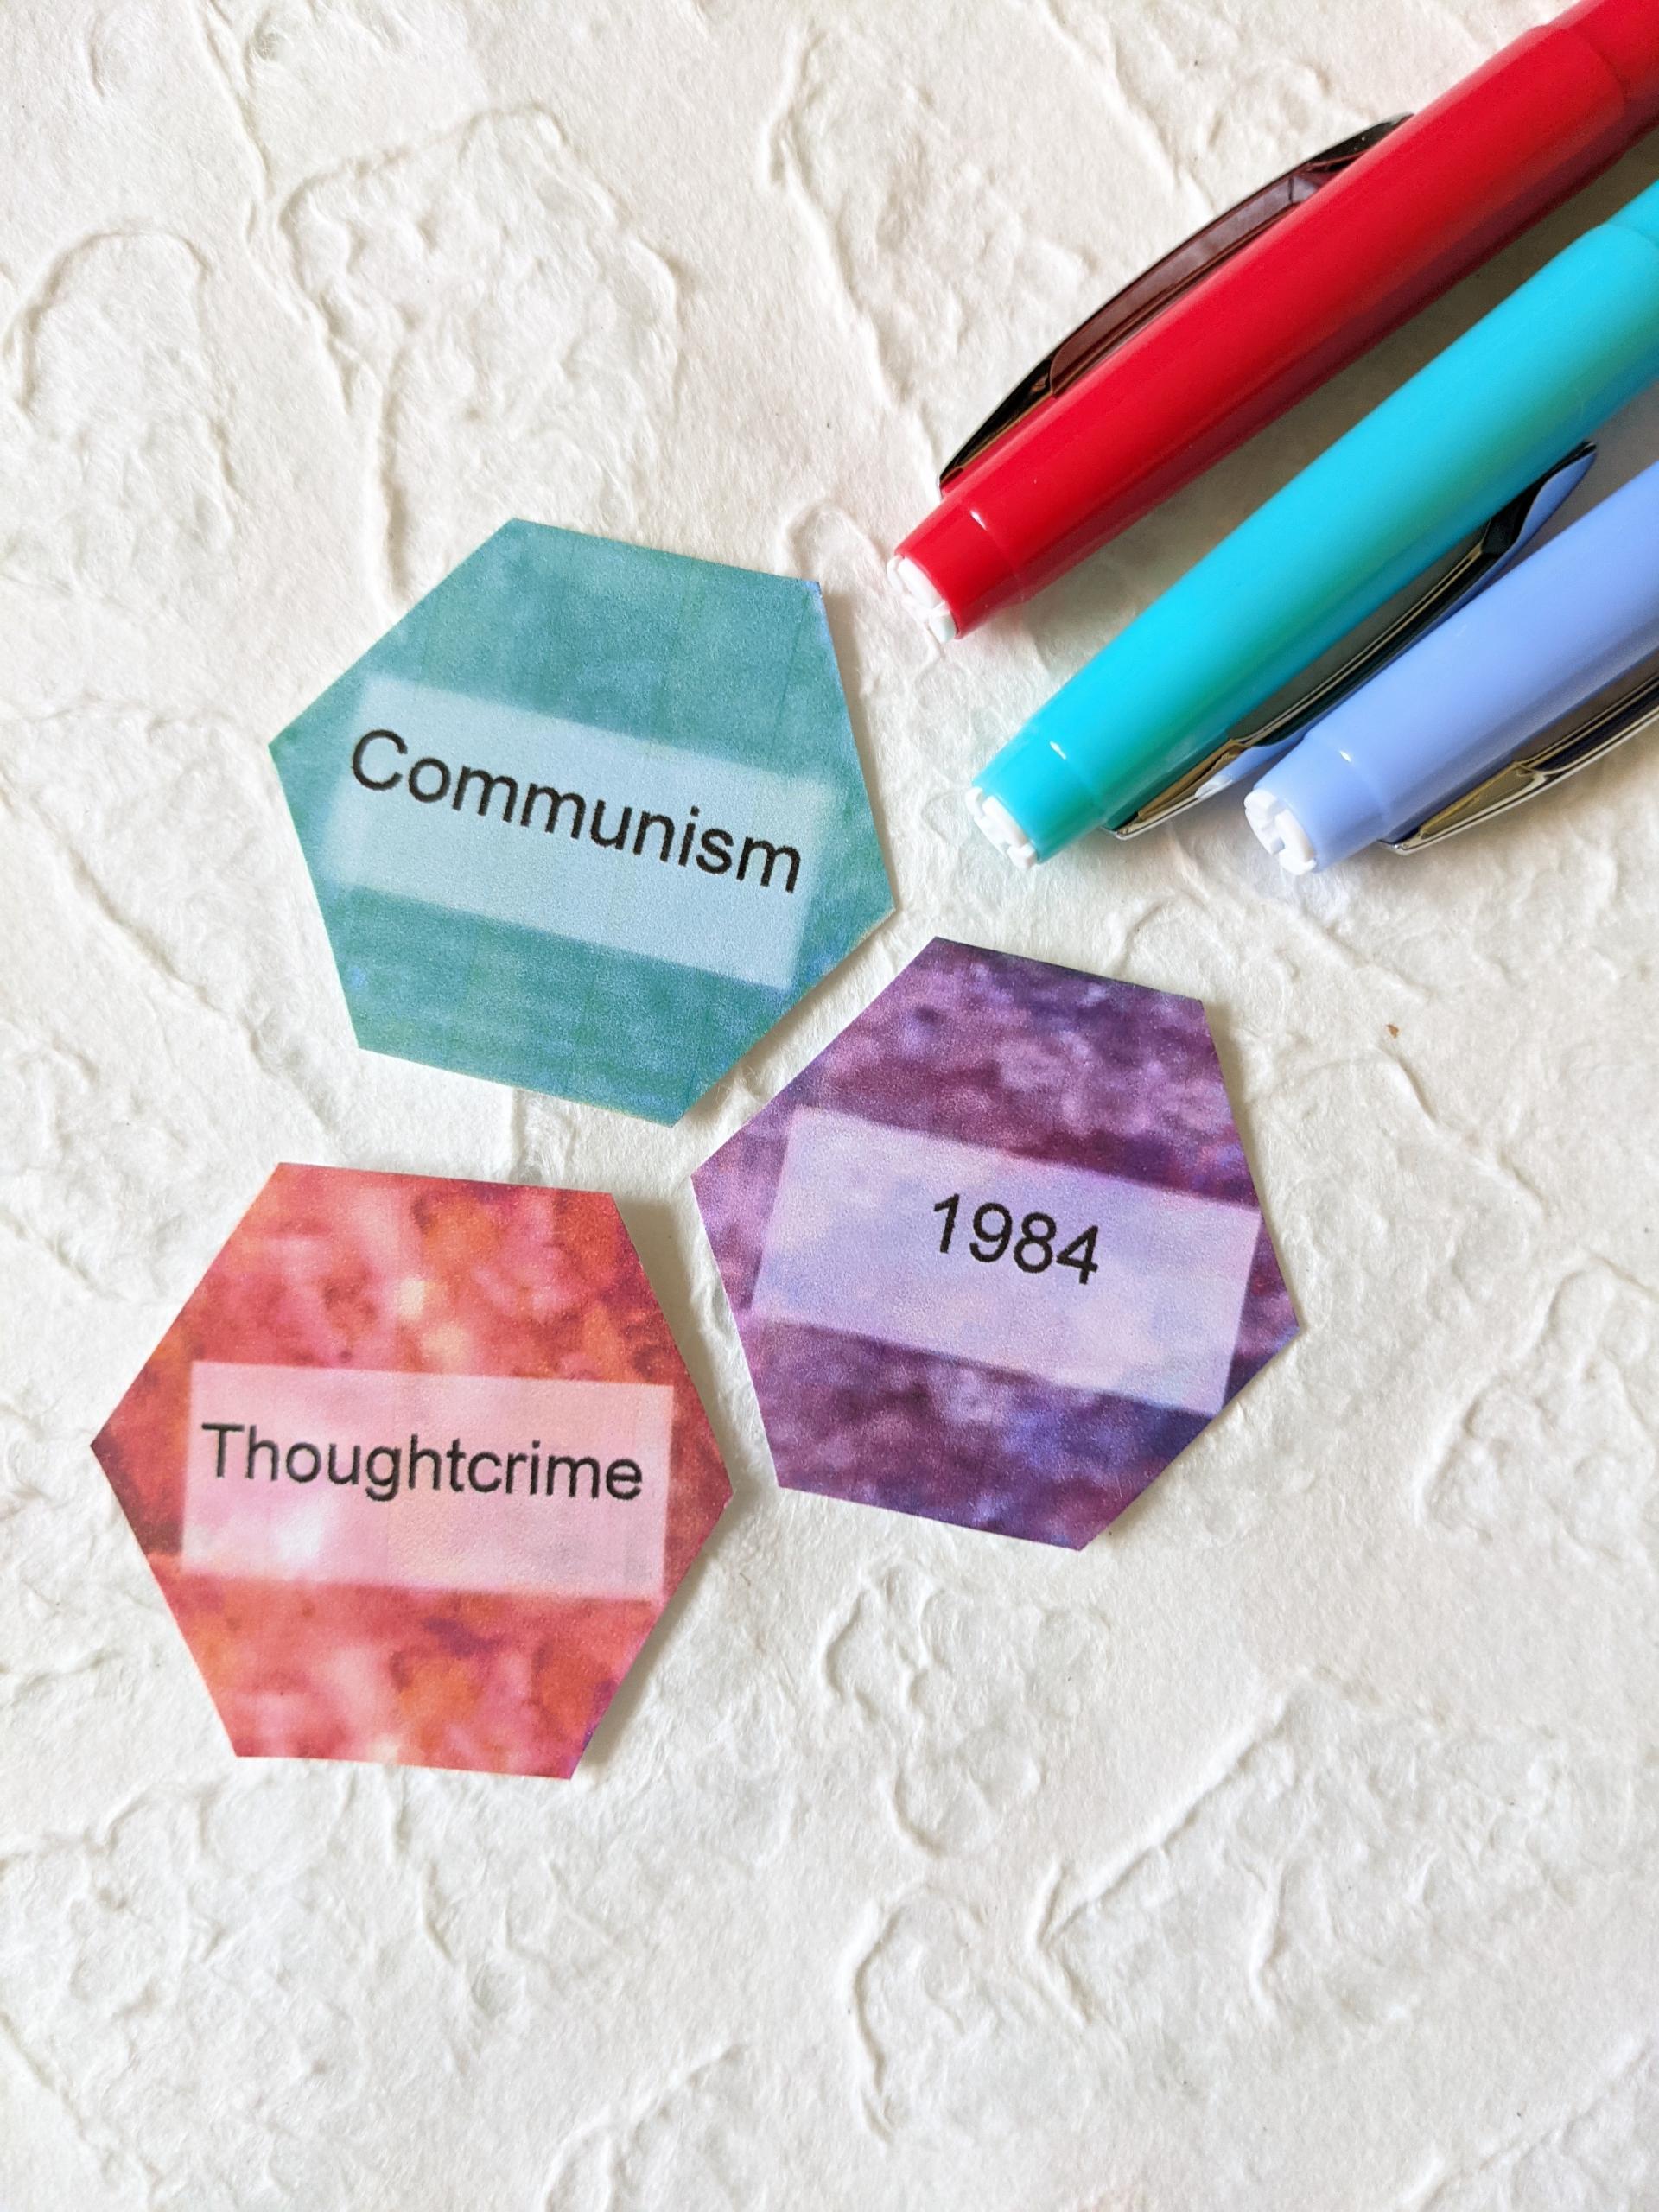
Don't let your blank hexagons intimidate you, OK? The exact same kinds of things you would normally bring up in discussion can go on your hexagons, plus you can play around with adding more connecting ideas related to current events, historical events, and interdisciplinary topics.


For example, when thinking about a novel or play, you might add some of these core components to your hexagons:

  • character names

  • themes

  • symbols

  • literary devices that are important to the text

  • key elements of the author's style

  • quotations

  • setting elements

And then you might think beyond the core components, considering connections like these:

  • related ideas from the art of the period

  • related events, movements, novels, films, or figures from the modern day 

  • related events or movements from history

  • related characters, themes, or concepts from elsewhere in your curriculum

Your goal with your hexagons is to stir up discussion about how all these puzzle pieces can fit together.  Once you get started, it will be easy for you to fill a deck with at least twenty of these terms and ideas. 

Today's first resource is a set of blank hexagon sheets labeled with categories. Once you've done some activities with a teacher-created set (like the one from yesterday's materials), you can easily branch into student-created sets using these templates. When you get to this point, prepping for a hexagonal thinking activity is as quick and easy as printing the category sheets and assigning groups. Be sure to have scissors at the ready! 


Interested in going paperless? The digital hexagonal thinking kit makes it easy to try this activity in Google Slides. With three editable sets, complete with students instructions and examples, and the ability to either plug in your terms or let students create half or all of them, this activity is very doable online. 

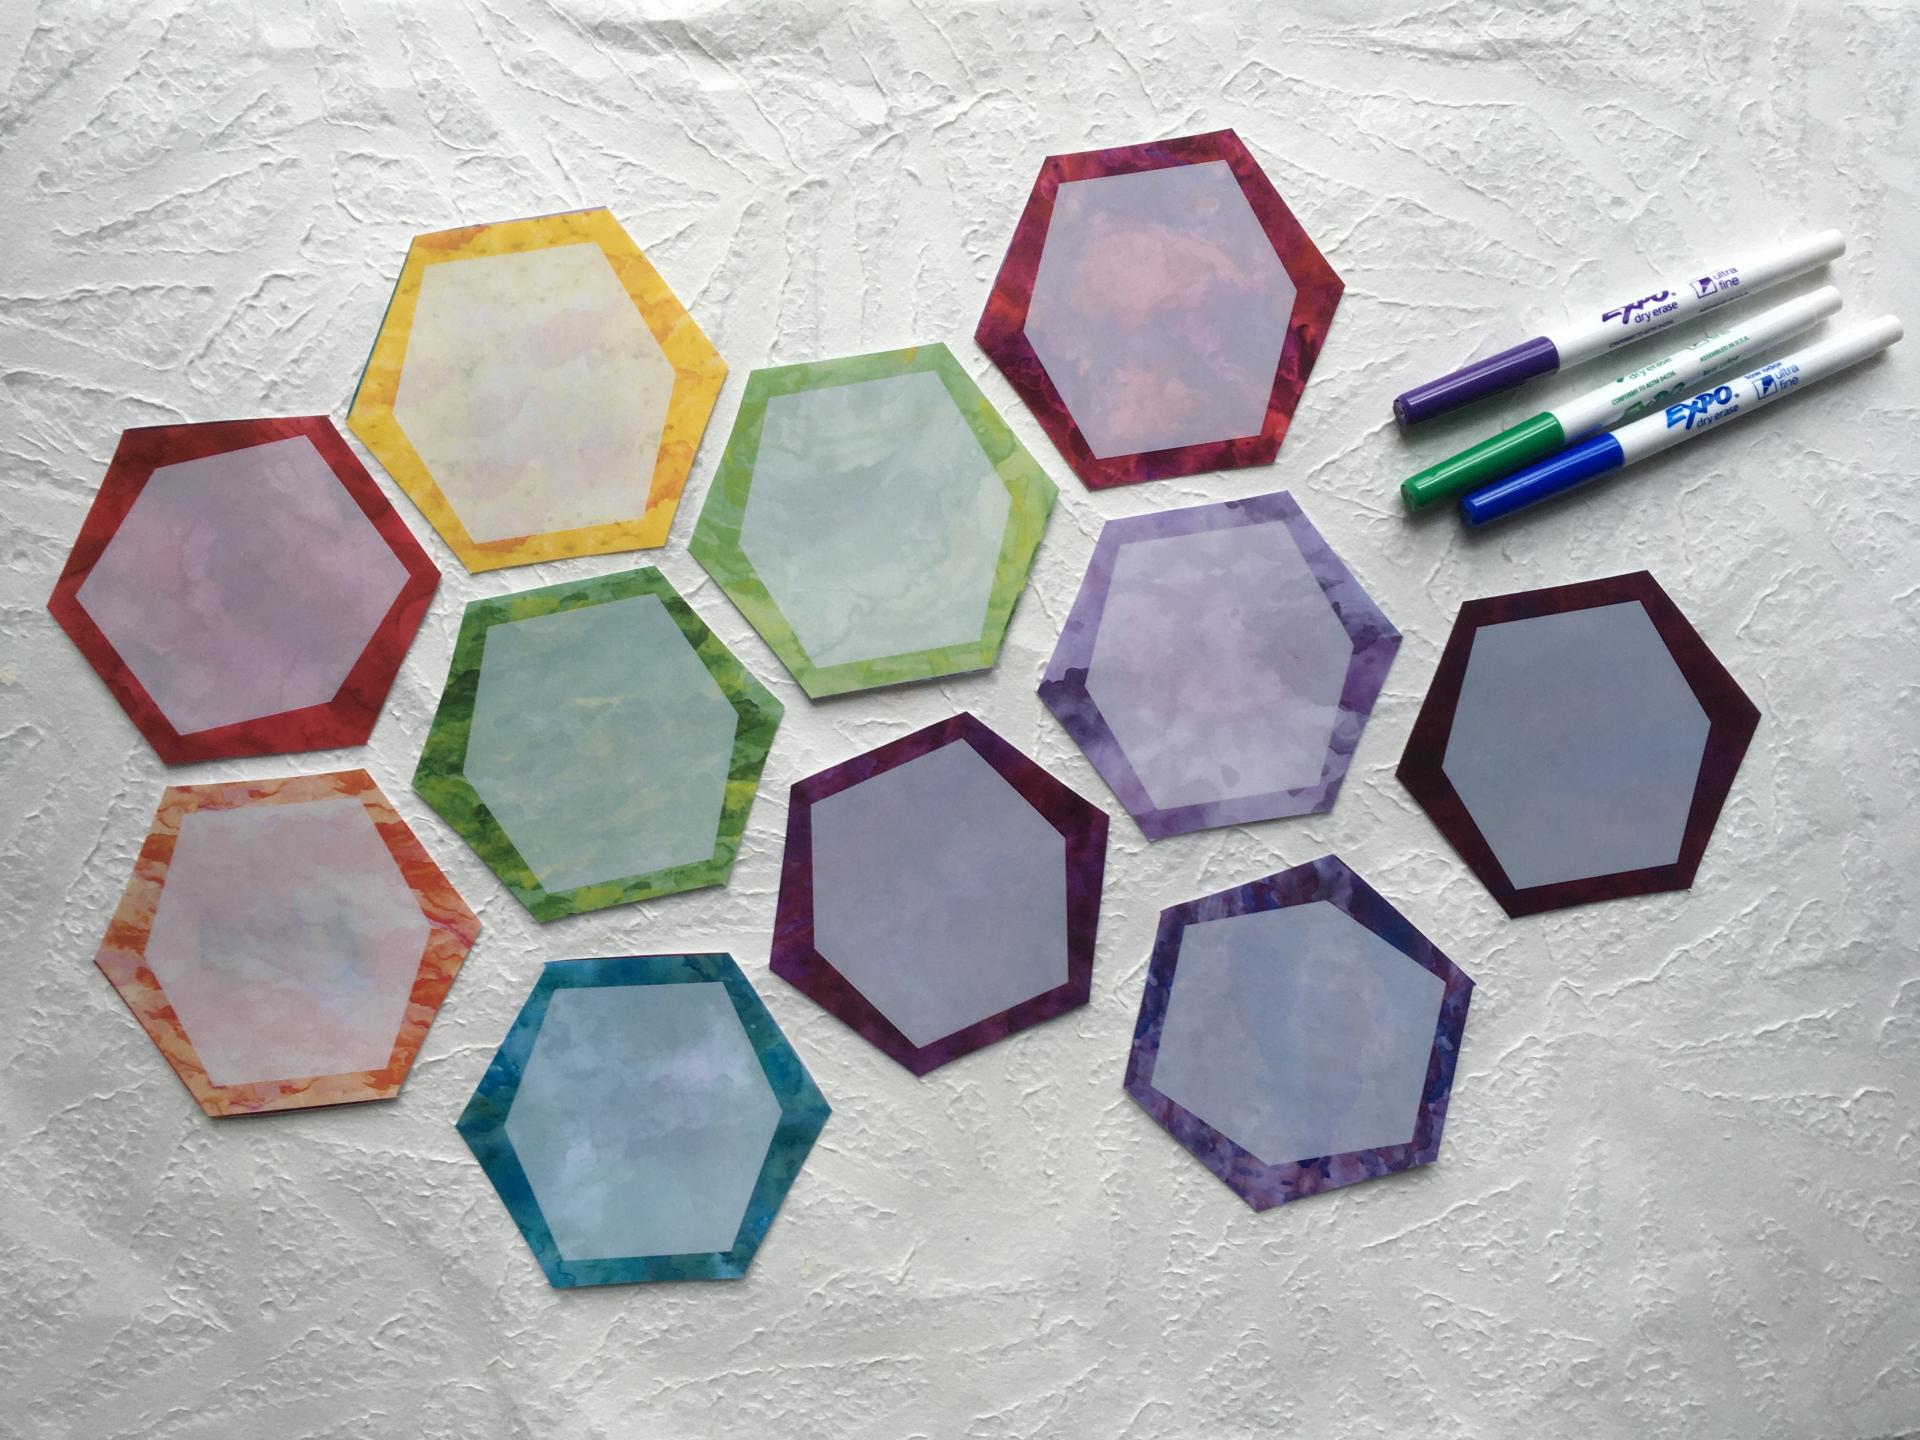
This set of blank rainbow hexagons is perfect for laminating. Once you have blank group decks, you can easily put a list of core terms on the board for students to add to their decks, then let them brainstorm the remaining terms. You could also put magnets on the back of the cards if you'd like students to be able to move them around on a magnetic surface. After the activity, snap photos of the final webs before having students wipe them clean with paper towels or cloths. 

Hexagonal one-pagers mix two of my favorite strategies in a beautiful display of critical thinking. This is an advanced version, so be sure you've done both hexagonal thinking and one-pagers separately before diving in. Students need to divide up your terms list, create their one-pagers, and then launch into a hexagonal thinking conversation like any other, except with visual cues that inspire even deeper conversation and connection. Be sure to find a way to display their final webs! 


DAY THREE: 

Launching Hexagonal Thinking in Class

When it comes to hexagonal thinking, I suggest you introduce it with three steps. You can use the video or slides below, or come up with your own visuals.


​Step #1: Talk about its origins in the business world, as a way to come up with innovative ideas and connections between concepts. Reinforce that there is never a "right" answer, only interesting connections explained well.


Step #2: Do some modeling. Whether it's with a silly deck featuring terms from your students' favorite tv show or the deck you're about to use in class, show students how you might connect several hexagons and why. Then invite students to write down another way of doing it and call on volunteers to share. 


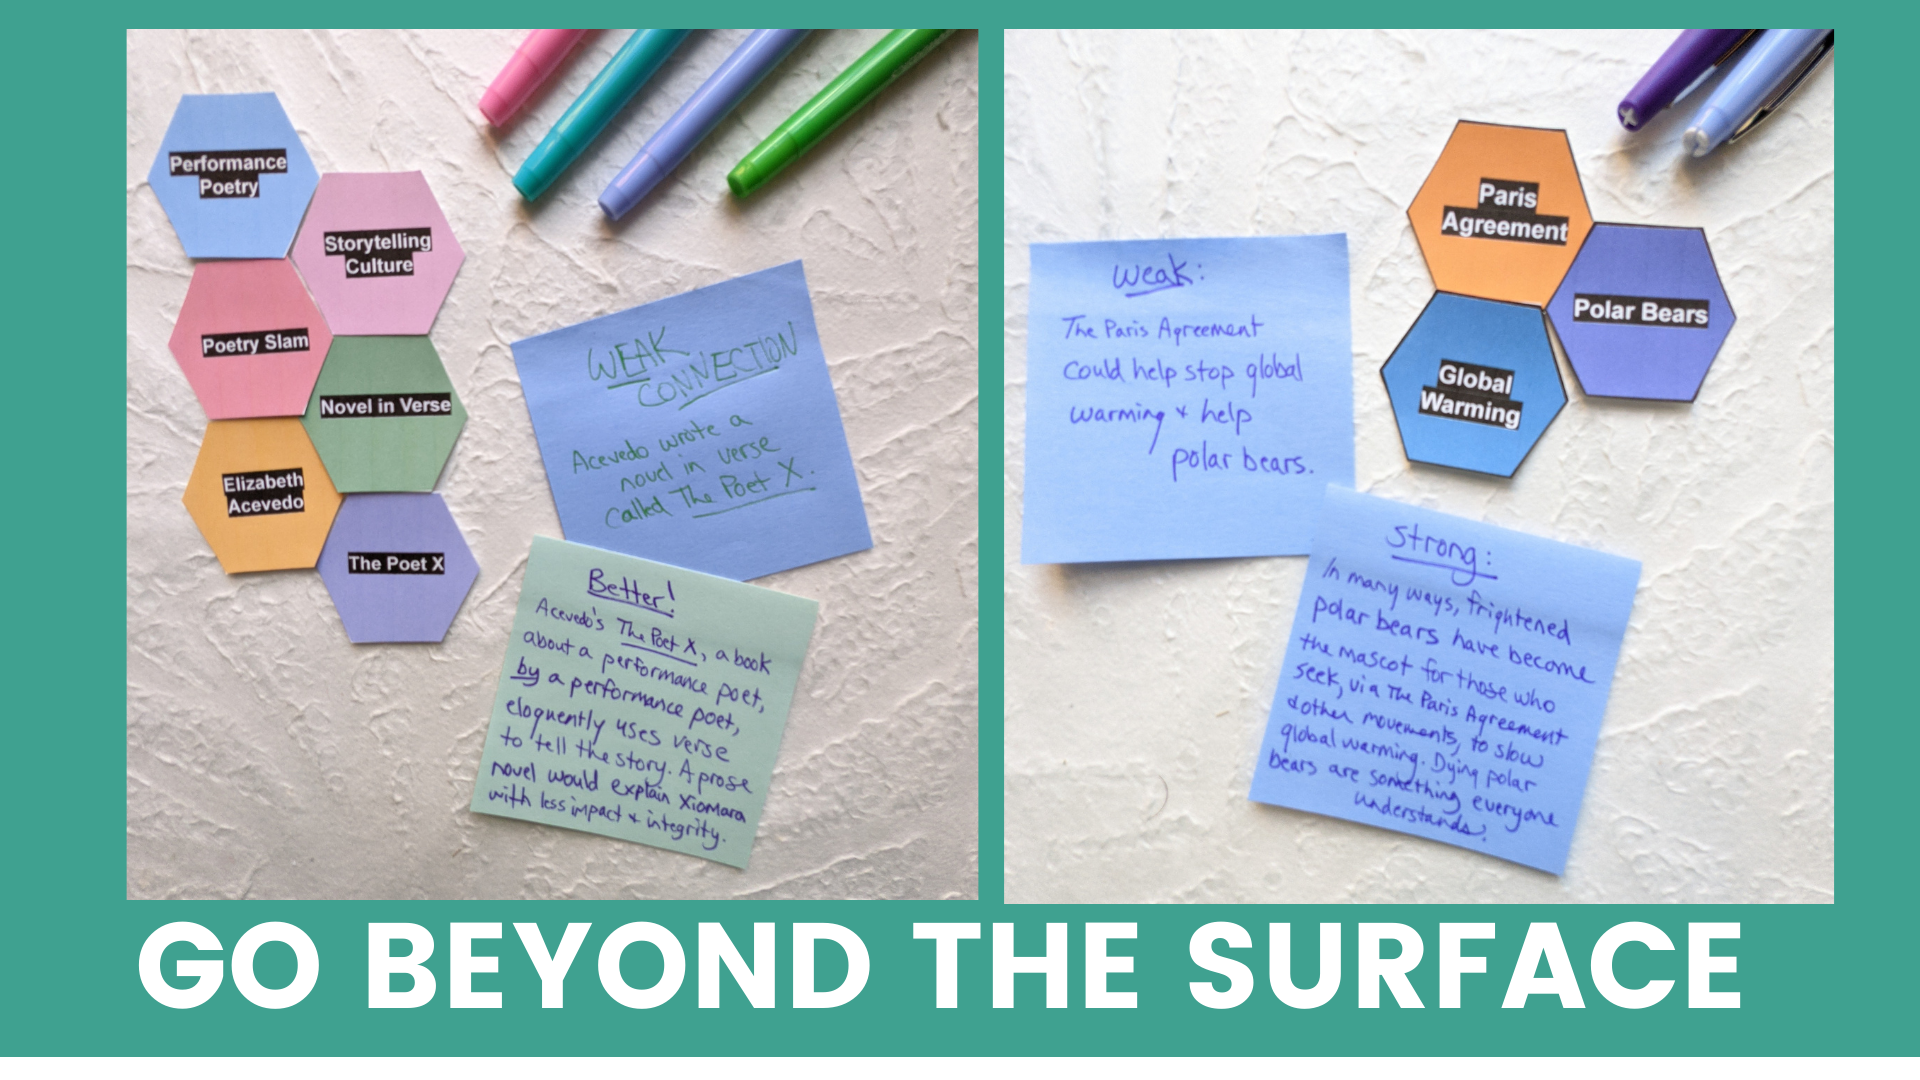
Step #3: Twist the model. Now show them some terrible, boring, dull surface connections. Explain your connections in terrible, boring, dull ways. Then ask them what you're doing wrong.  Have them correct your work.


​The video below hits on these steps quite quickly. If you'd rather take it slow, you can make a copy of the slide deck from the video further down. Want the video on its own page for class? Here you go. 


If you'd rather walk through the slides yourself and take a little more time with your introduction, you can grab the introductory slide deck below. Then you can ask and answer questions along the way at the pace that works best for your class. Either option (video or slides) could work well - you know your students best. 


DAY FOUR: 

Ways Students can Present Back to Class

There are so many  ways to have students explain their connections once they've made them. 


Students might: 

  • Present a key connection back to the class 
  • Make a Flipgrid recording of their web and explain two key connections
  • Write their connections directly onto their webs, using post-its, connection arrows, or the paper or whiteboard behind their web
  • Write their explanations onto graphic organizers, handouts, or Google slides guiding them in their responses


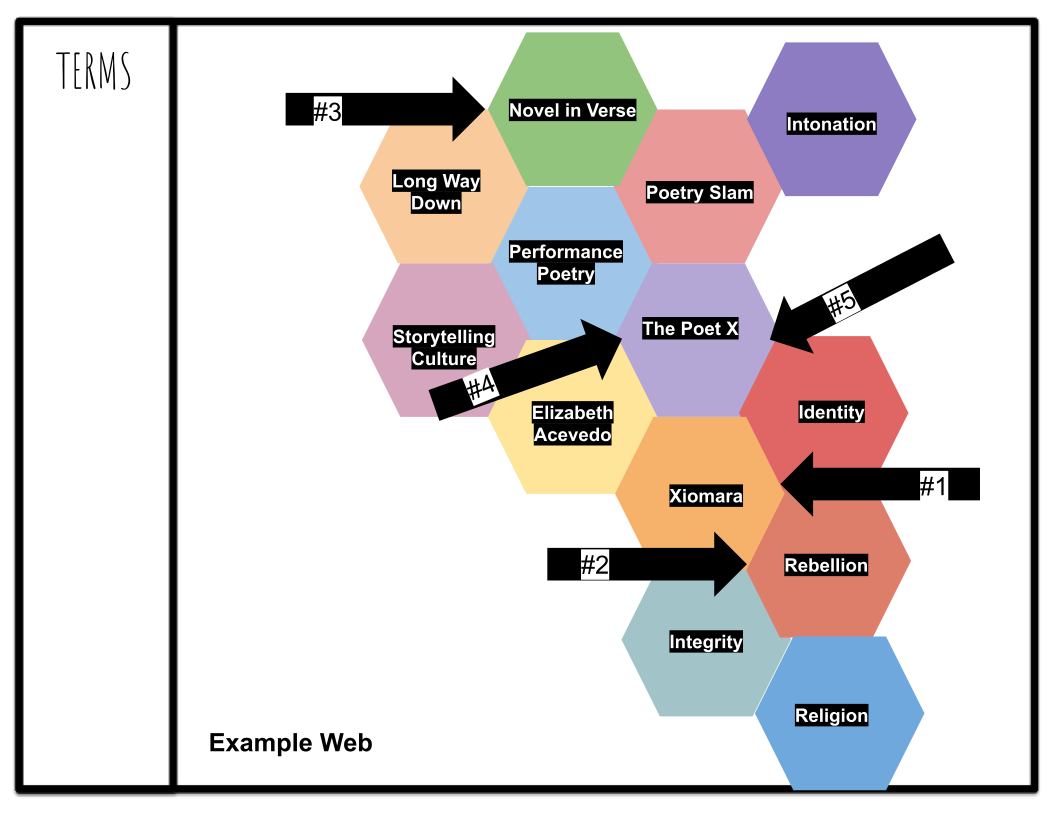
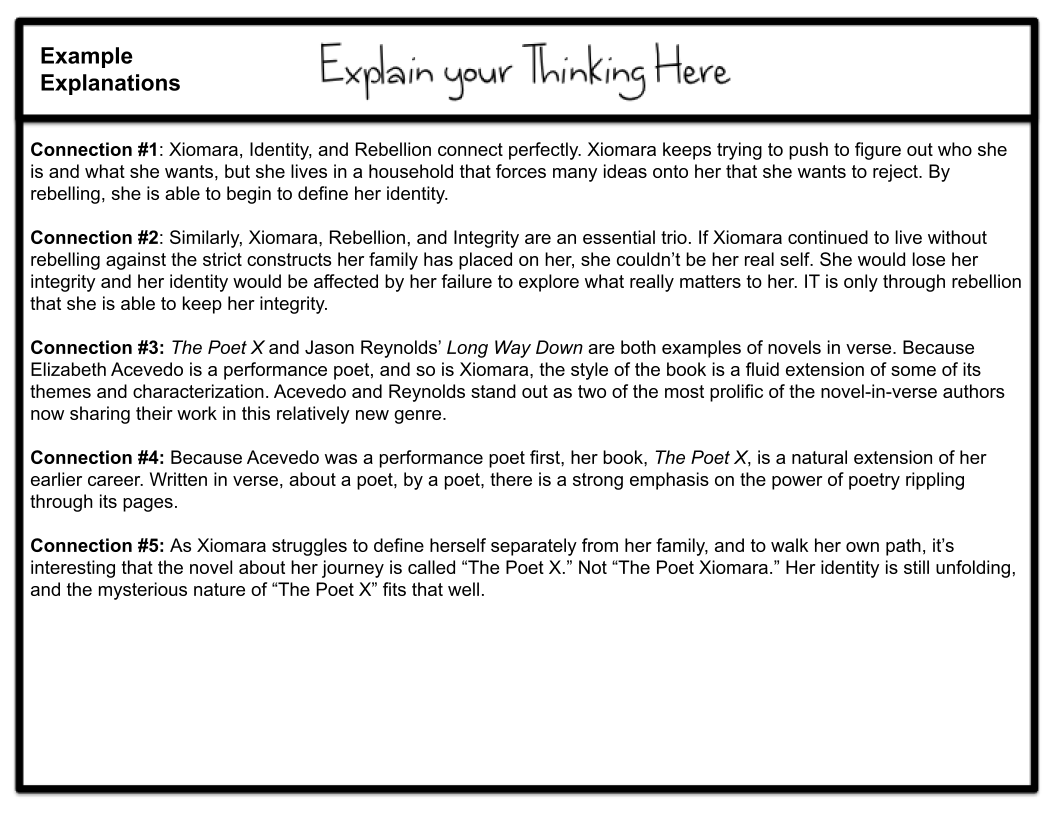
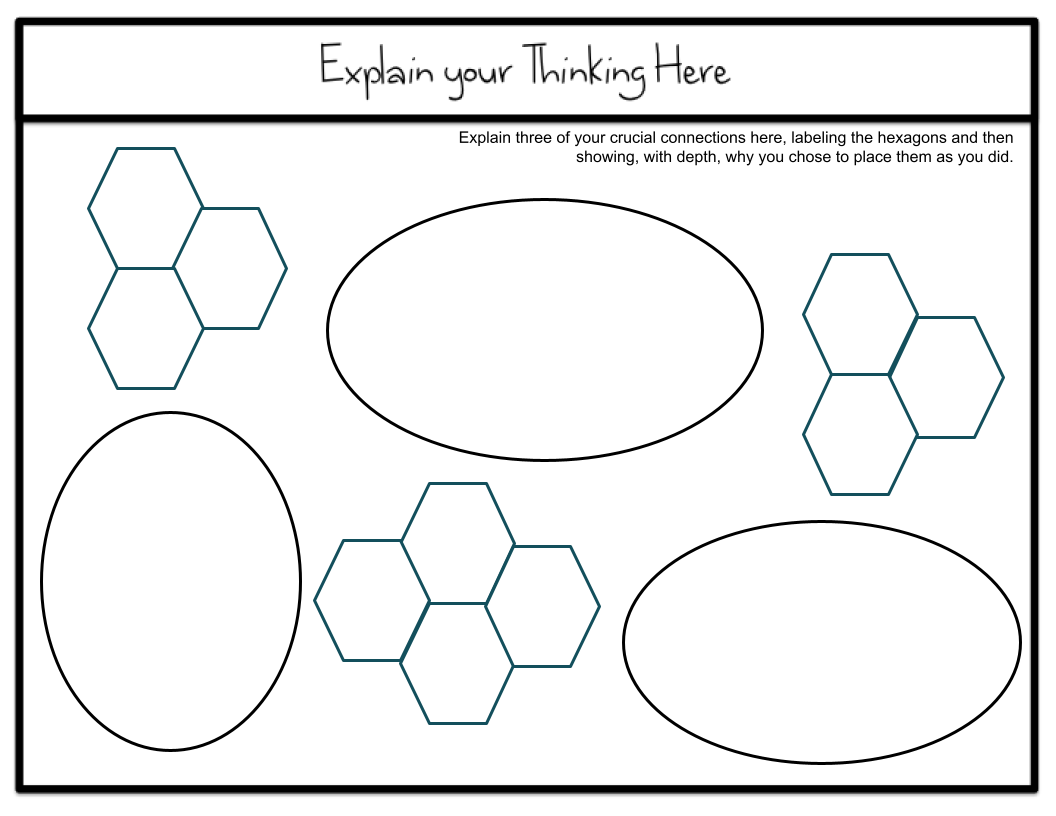
Take a look at this web from your digital toolkit from yesterday. One way to have students explain their connections is to have them label several intersection points within the web, and then explain them in writing. 

Each explanation corresponds clearly to a different intersection point on the web. Each student in the group can explain their thinking in their own way, showing what they've taken in from the group conversation but also putting their own unique spin on it and making their arguments clear. 

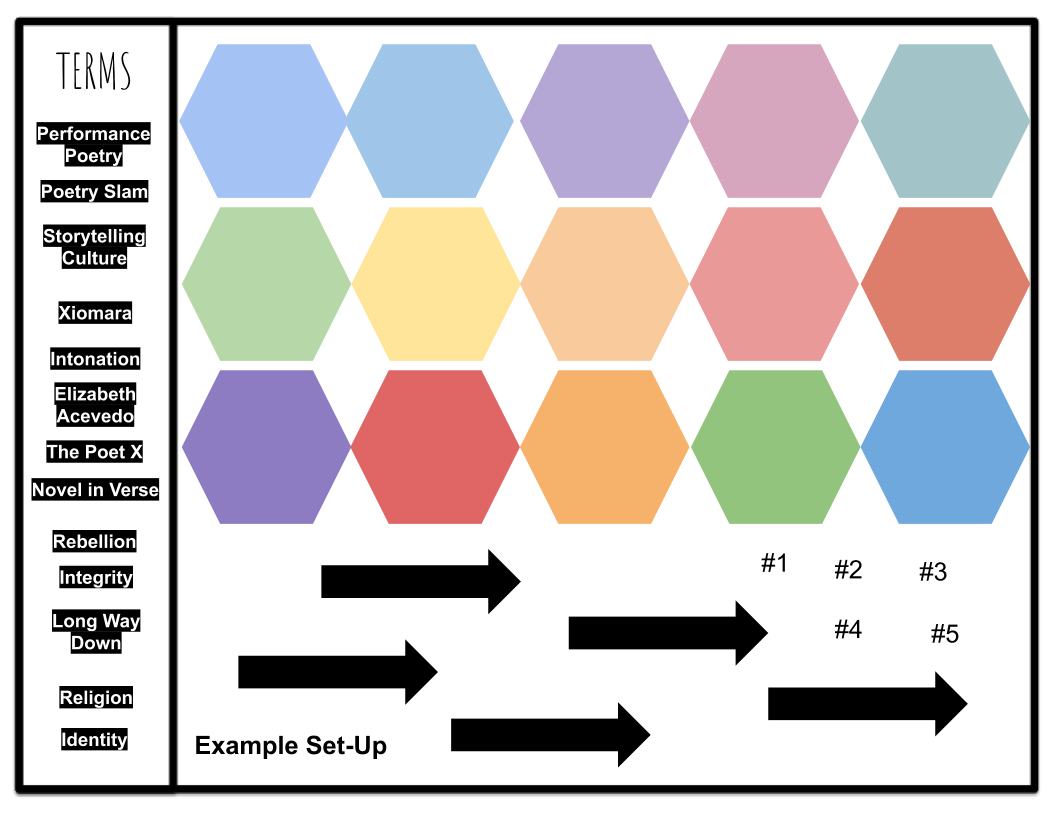
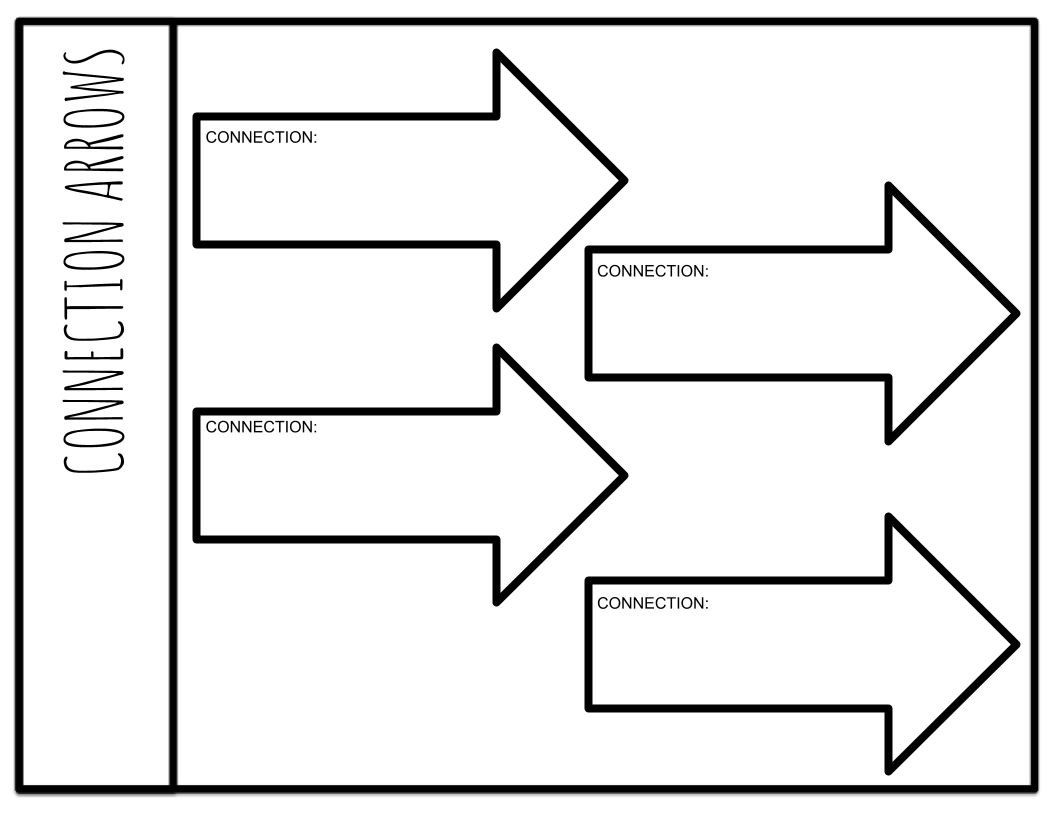
It's also easy to print block arrows (this page of arrows comes from your day one kit, hexagonal thinking for any novel) and let students cut them out, fill them in, and put their connections right onto the web. In this case, I suggest you make sure every student is responsible for a certain number of arrows, so you don't end up with a couple of dominant students doing all the writing. 

A graphic organizer like this one (also from your kit, hexagonal thinking for any novel) is another easy option. Every student can copy several intersections that they find most interesting, then explain their thinking in writing. 


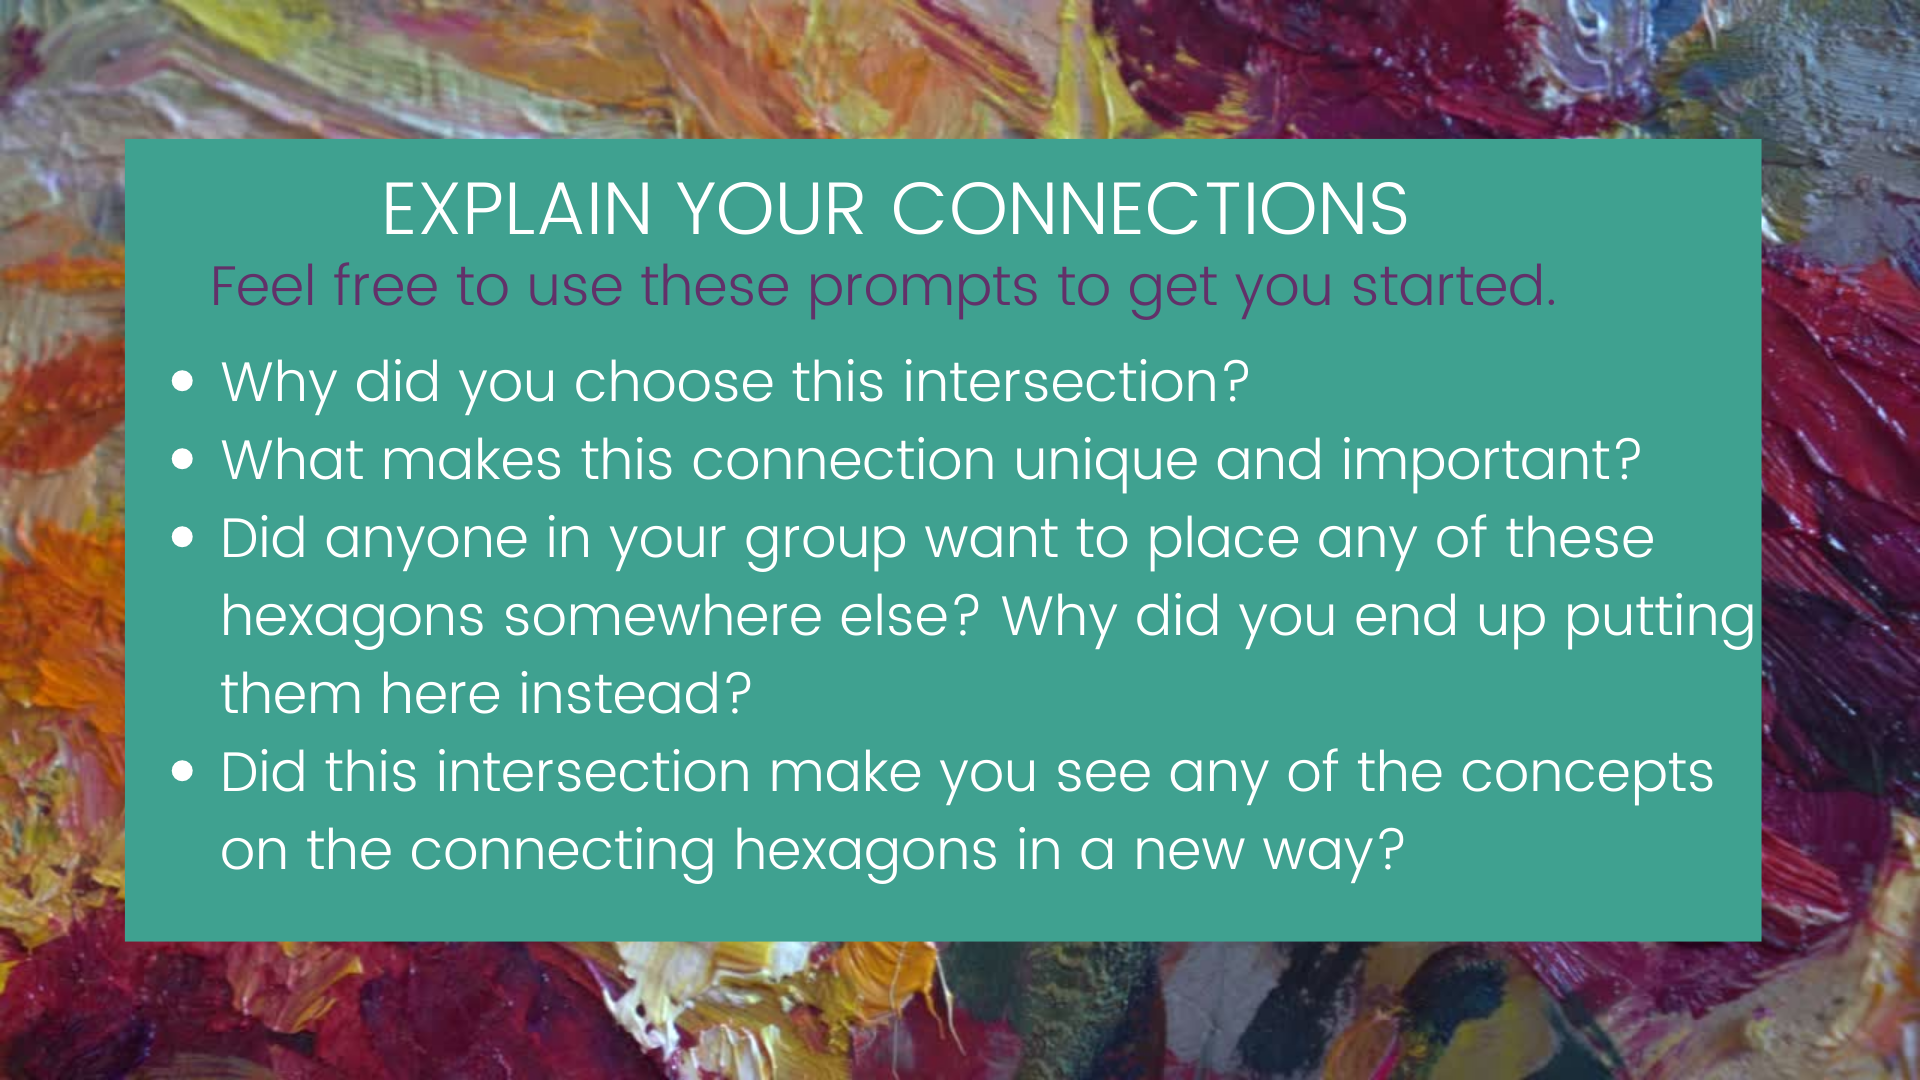
Whether your students are presenting back to the class live or on Flipgrid, using a graphic organizer or connecting arrows, or writing something more extensive, it may help them to have a few guiding prompts up as they work. You can project this slide as your students prepare to present, write,

or record their final arguments. 


DAY FIVE: 

Reflection & Growth Mindset, Assessment


Hexagonal thinking is not a one-and-done type of activity. As with other discussion methods, students will build their skills as they put this method into practice over and over. So just as I hope you encourage them to keep a growth mindset and work to improve their hexagonal thinking over time, I hope you'll do the same, tweaking the way you guide your students and help them excel with it as you build your own experience with the method.


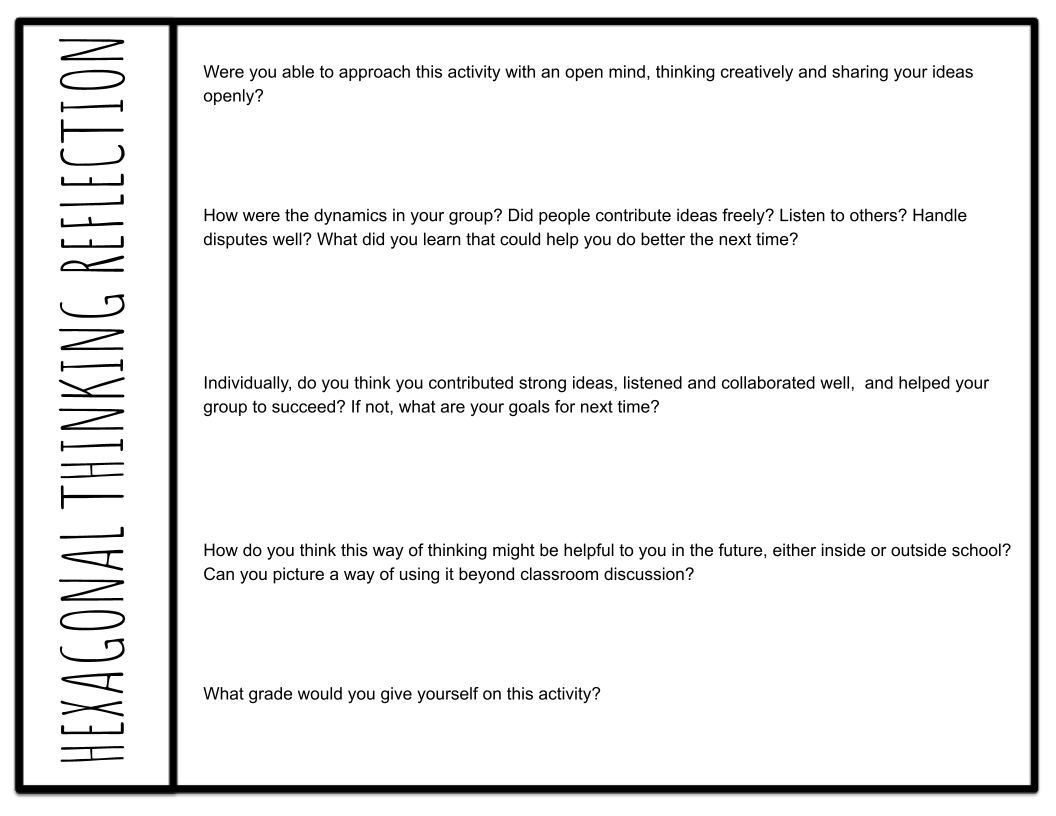
In today's materials, you'll find three options for helping students see what they did well and what they might improve upon after a hexagonal thinking activity. I suggest you keep the focus on building their skills and improving their mindset as you get going with the method, saving rubrics and grades for later.  


Here are three types of post-activity reflection sheets. Two invite students to reflect on their work and how they can improve for the next time. You can then grade them on completion of this reflection as well as responding to their writing or presentation of connections. The third option builds in both reflection and a rubric for you to give them a grade in response to their work. This would be a good option for students who are more experienced with the method. 

As students participate in a hexagonal thinking activity, they are doing much more than making connections in a text. They are figuring out how to lead, how to navigate conflict, how to think creatively, how to back up their ideas when they meet opposition, how to stay focused without constant teacher intervention, how to overcome shyness or hesitancy in speaking a group, etc. 


Reflecting on the experience gives them a chance to process all of this. Consider letting students reference these reflection sheets before starting your next hexagonal thinking activity, and perhaps setting some personal goals for how to improve.


Thanks for joining me for Camp Creative! It's been a pleasure to share this week with you. 


If you've enjoyed these resources and tutorials, and find yourself wishing you could have this type of support throughout the year, I've got a nice surprise for you. Today I'm opening the doors to The Lighthouse, my teacher membership, for just a few days. Inside The Lighthouse, you'll find the creative curriculum and camaraderie that can help get you through this crazy year. There's so much I want to tell you (and show you) about what's inside, so if you're interested, come on over and check it out.